Sunday, January 10, 2021

Covid Quilt Challenge Round Up

While we haven't officially stopped doing our quilt challenges, unfortunately life events have meant they've been fewer and farer between lately. I thought I would take this break to do a little quilt show of sorts of all the things we have produced thus far (don't forget to wear your white glove if you want to touch the pieces :P).

Challenge #1: Curves (Bluebell blue and neon pink)

Friend

Me

Me

Challenge #2: Magazine Inspiration

Inspiration

Friend

Me

Me

Challenge #3: Machine Applique (Close-up flower, one unattached piece)

Friend

Friend
Me
Challenge #4: Tesselations

Friend

Me
Challenge #5: Broderie Perse (Inherited Fabrics)
Friend
Me
Challenge #6: Yo-yos
Friend

Me
Challenge #7: Piping (with a colour palette)

Colour Palette

Friend

Me

Me
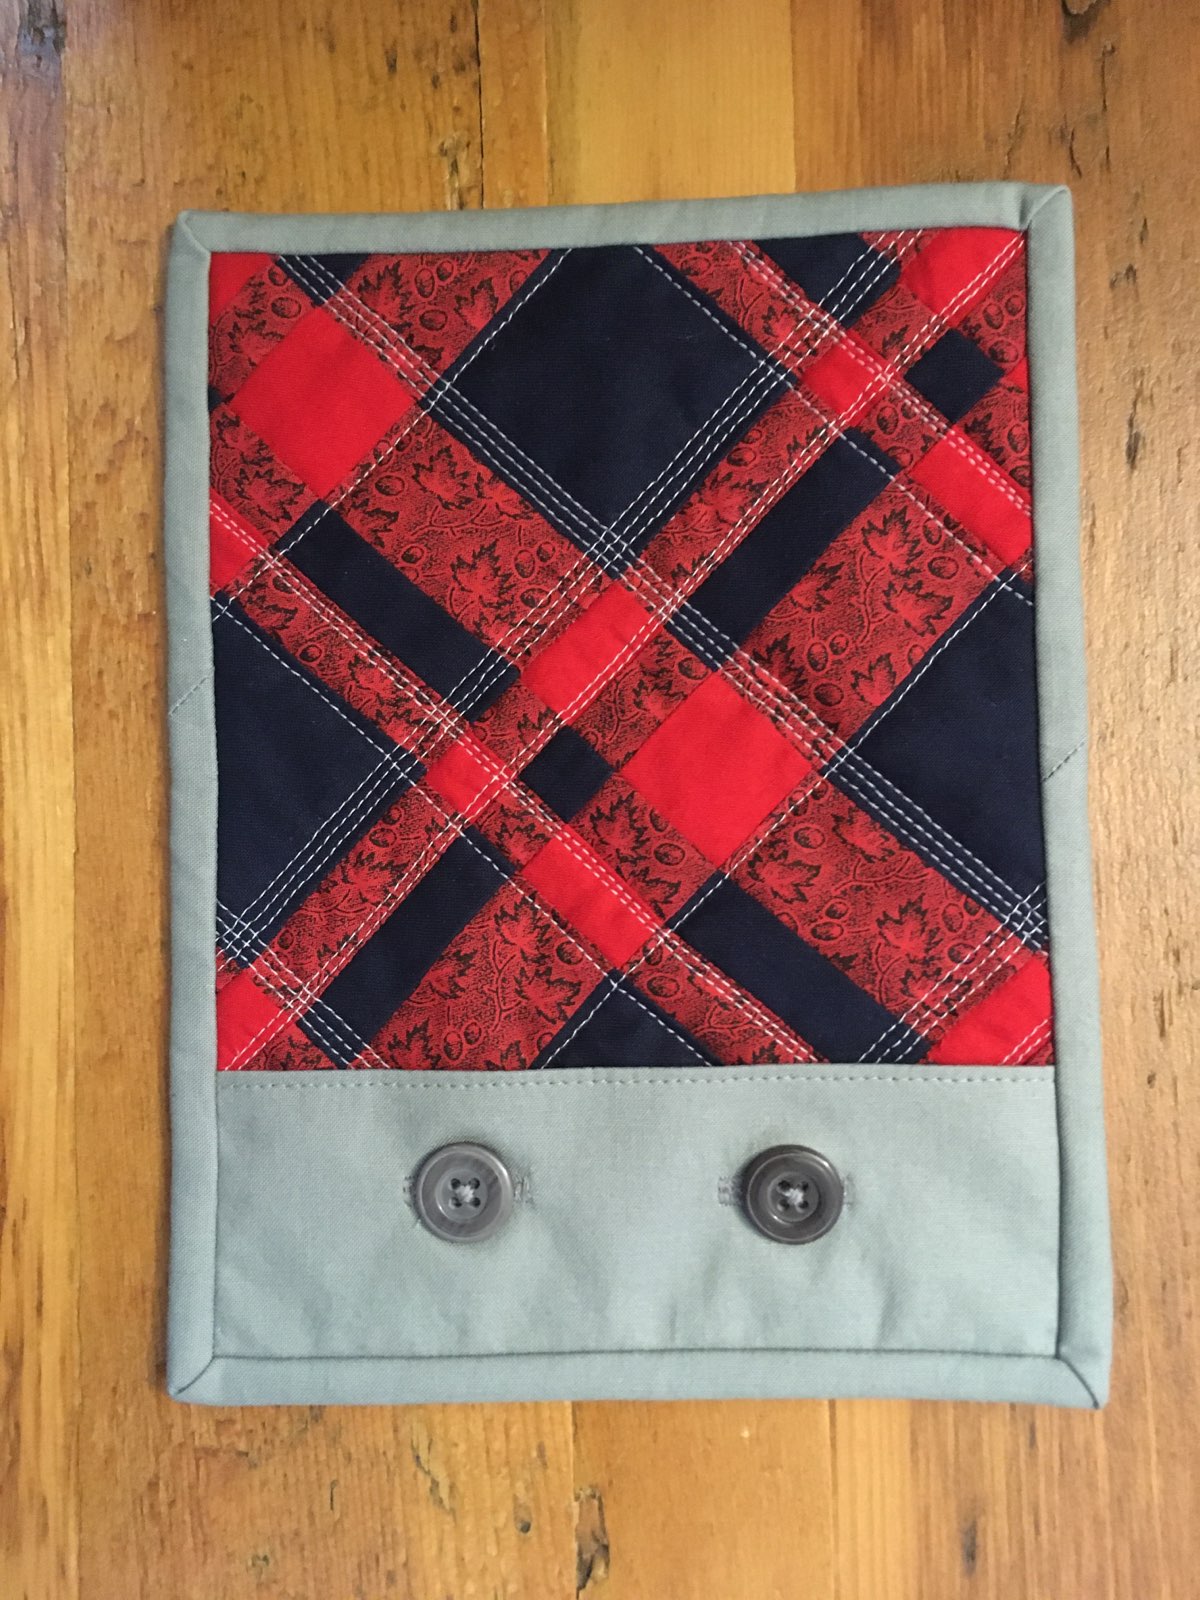
Challenge #8: Borders
Friend

Me
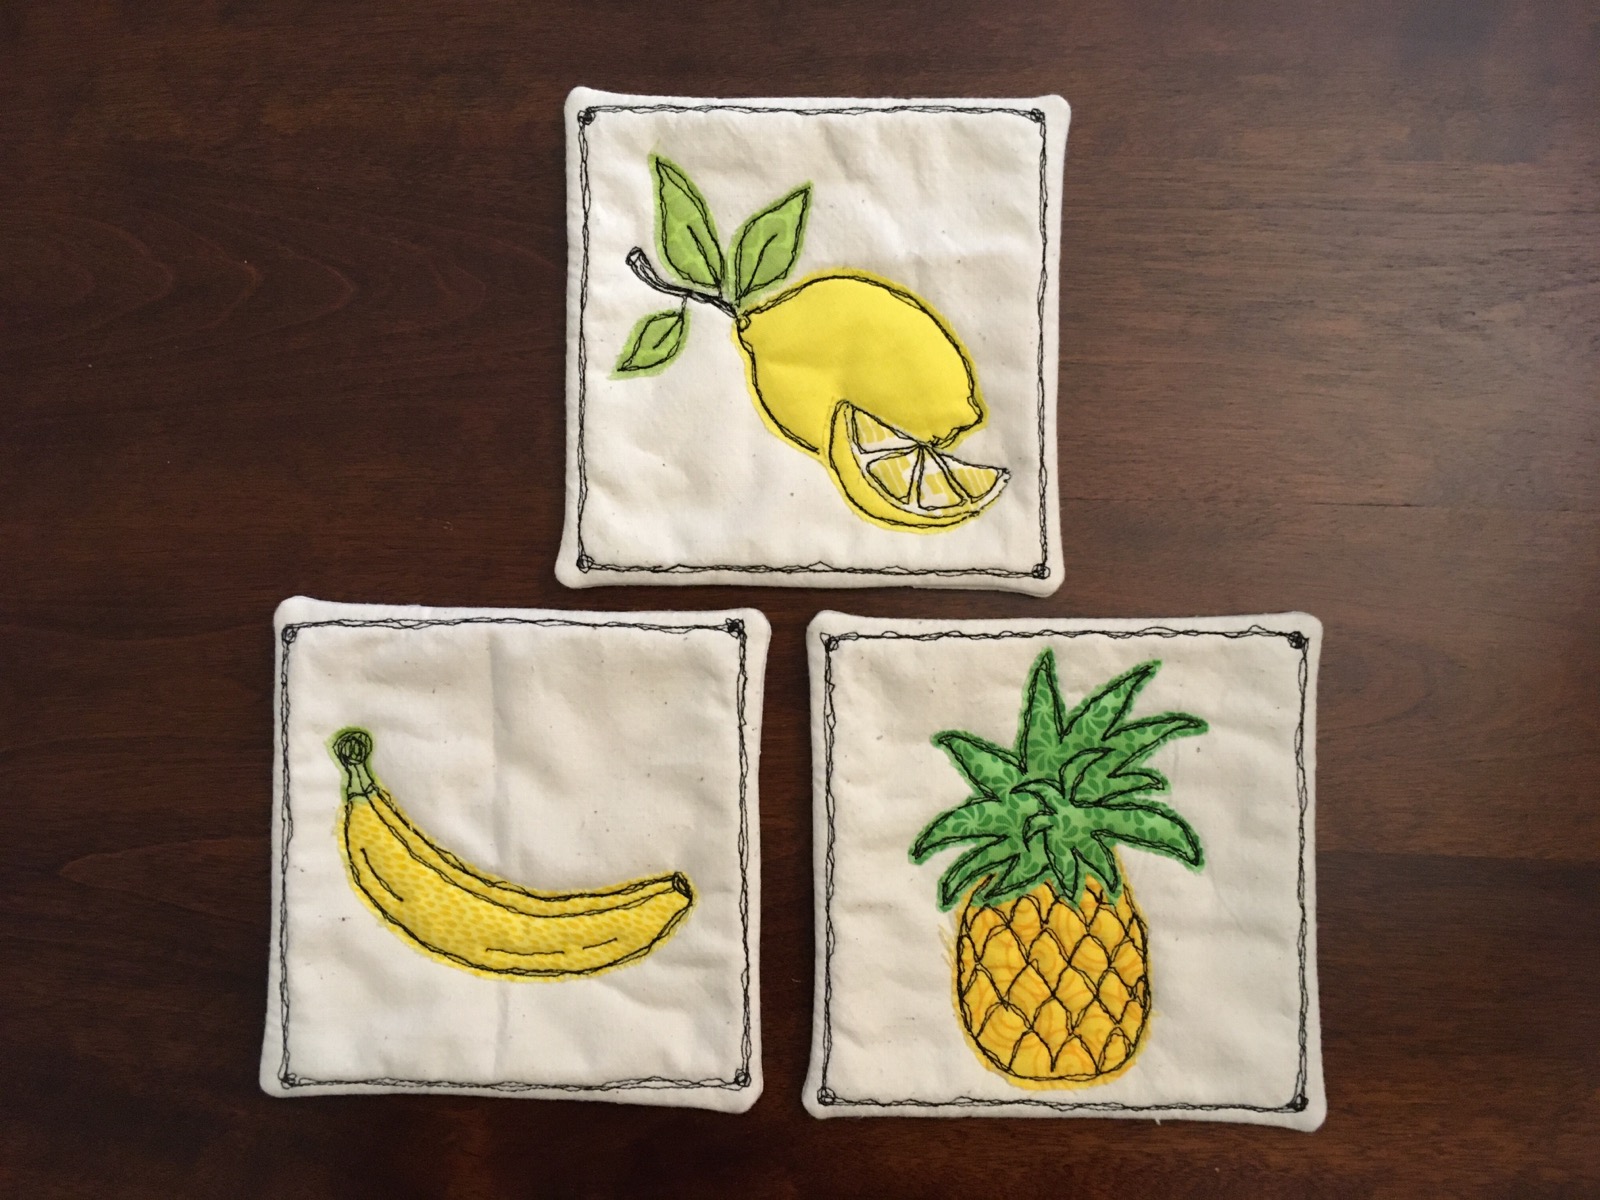
Challenge #9: Free-hand Machine Work (5x5, fruit)

Friend

Me

Challenge #10: Non-rectangular (Fall themed)

Friend

Me

Friday, January 8, 2021

Sewing Party

I know this post is a little late, but I figure it's better late than never.

At the beginning of December we had taken some time off hoping to go see my grampa for his 85th birthday. Unfortunately, because of covid, we weren't able to do that. Since we already head the time off, we decided to make the most of it.

My mother came over for a couple days of sewing and errands. 

She had a quilt top she was prepping to get into the frames. She finished up the hand appliquing, with a few consults on placement. 

This design is a free pattern called Paisley Splash. Once the applique was done, she added a border. I didn't get a picture of that until it was in the frames at Christmas time. 

We both had aprons to make as Christmas gifts for almost 3 year olds as well. We used Sew Simple Home as inspiration, but drew up our own pattern. I chose to use 2 cottons and make a double-sided apron to make it a little sturdier.

I was told my recipient likes yellow, so that was my inspiration as I dug through my stash. I chose to use a plain fabric on one side in order to add a pocket and an initial.

I got a great smiling picture of the recipient on Christmas morning. I hope it gets used to make many delicious things, but more importantly to have great family time together.

I also made a couple of snakes for a couple of big brothers to celebrate the birth of their sister. This is a pattern I have printed out, but I can't find it online again. I chose to make one longer for three older brother and one shorter for the younger brother. These are fun and pretty quick to make. 

In addition to sewing, we went out for a ski/snowshoe. The weather was beautiful and we had just enough snow, so we headed to the local golf course to frolic for a bit. It was a lovely break from the sewing machine. 


We also had a lovely trip to Shakespeare to get some quilt batting from the local quilt store. While we were in town we hit up the local pie store for butter tarts. We had to wait outside in line in the cold, but it was worth it! A visit to the British shop rounded out our trip. 

In the evening we went to the park to enjoy the Christmas lights. There was a new display this year of timbits playing hockey. They looked like glowing bowling balls 😀.

We had a great time together, and got lots accomplished. It was just what I needed. 

Sunday, January 3, 2021

Bobbin Work! Covid Quilt Challenge #11

We did our next challenge this past weekend. Apparently I started writing this post and forgot about it, so it's actually been almost 2 months since our last challenge. The topic we drew was bobbin work. This was an interesting one because neither of us really had an idea of what it was or what was involved.

As usual, Friday night started out with googling and Saturday started with testing. I did less planning on Friday night, because until I did the testing, I really didn't have an idea of what would happen or what kind of ideas might make sense.

This is what my testing looked like. See how helpful it looks :P?

It actually gave me a good sense of which materials would work and which ones wouldn't. It also gave me a sense of how to work with each material. Some did better going through the bobbin tension and some didn't. Some benefited from a top tension change, some didn't. Little experiments helped with this. Especially taking care to go slow at the beginning - I did snarl up my machine a couple times.

My key feature was my ribbon yarn. I had a spool left from when it was popular and I had made my mother a scarf out of it. I really liked what it did when run through the machine - it bunched up in a ruffle/rouched kind of way and looked really cool. Plus it was gradated, and so looked very interesting. That led me to deciding that I wanted it to be the main part of my design.

I started by quilting the entire background. I wasn't fully thinking when I picked the backing fabric. I know I had a reason, but I don't remember what it was, and because I had a dark background fabric and light backing fabric, it meant I had a dark top thread and light bobbin thread, and my machine quilting skills aren't good enough that that was a good idea.


After that, I traced the outline of what I wanted on the back fabric, so that I could do the bobbin work upside-down and know where I was going. I had decided to make a butterfly. I started with the main outline with the ribbon yarn that I loved so much. 

From there, I added a yellow outline with a thick jeans thread, and a blue ribbon accent created with a zig-zag stitch. The body of the butterfly was created using a zig-zag stitch that I varied in width to create the shape I wanted.

Next I added buttons as accents as well.

To finish it off, I faced the project, and then zig-zagged the ribbon yarn around the edges as well.

Overall, I was very happy with how it turned out - especially given at the start of the weekend, I didn't even know what bobbin work meant.

Okay, onto my friend's project. At the best of times I am just piecing together (haha - no pun intended) what I think she did. An now it's been 2 months since she would have told me anything, so this will mostly be a series of pictures of the progress of her project.

pic

Again, I think the thing that really drove our design decisions was the types of threads we had, and how they interacted with the machine.

This is the design she chose to do.

She used 3 different threads to complete the design.

Her big things were working through what order to sew which lines in, and also doing the filament in the lightbulb as a free motion design (but going over it 3 times to get a thicker line - I think she did an incredible job of following the same line every time). 


Except for the small black square of fabric, everything else was done with bobbin work.

She also chose to do her bobbin work through all 3 layers, so counted that as her quilting as well.

Sunday, November 1, 2020

Broccoli!

At the beginning of October, my friend turned the big 3-0. Usually I get her a vegetable or two for her birthday (cuz that's the kind of person she is :) ). However, she's been on a reduced diet recently, and I wasn't sure what she was and wasn't eating. Plus $1.99 broccoli didn't feel like enough for a 30th birthday.

So I got to work thinking and googling and decided a collage broccoli was the way to go. And I even found some ideas online - I'm not the first one to quilt a broccoli :). I ended up using ideas and resources from Collage Quilter, who has done some great work. She has some lovely pieces including a harvest quilt, which includes some youtube video tutorials on fabric selection, technique, etc.

I pulled my fabrics out and got to work, sorting, cutting, placing and sticking.

I did the outer edge of the broccoli separately from the inner floret - this made it easier to get the shape I wanted without too much work. I cut out rounder shapes for the florets and strips for the stalks.

Both pieces were made on a separate scrap of fabric, and then cut out and placed on the background.

After that it was just a matter of quilting: pebbles/bubbles for the florets (smaller in the darker parts and larger for the lighter middle bit - made it stand out a bit more) and jagged lines for the stalks.

I had a lot of fun creating this project. I would definitely try something like this again.

She hung it in a place of honour (and picked out the perfect ribbon for it) :)