Showing posts with label blanket. Show all posts

Tuesday, May 10, 2022

Christmas Catch Up Part 2: Just What You've Been Weighting For

For Christmas, I gave my mother a box with some fabric, some weighted pellets, and a note that said "sewing included".

I knew she wanted a special size of weighted blanket, but I wasn't sure exactly how heavy she wanted it or what size she wanted, so I thought it was best to confirm these things before I put the work in.

For anyone interested in making a weighted blanket, let me just say that, in my experience (as is the case with many homemade things), it certainly didn't save me any money to make it myself. I went back to Michael's on a regular basis to buy one bag of pellets at a time. Which was difficult because there were a number of bags that had ill-formed pellets that I didn't want. So I ended up with two very different colours and sizes of pellets.


I also picked up what I think was a cloth shower curtain from the clearance section at Marshall's. It was a really fun print, and a bit bigger of a print than you would generally get on a quilting cotton. Plus, because my mom wanted a smaller blanket, I was able to use the curtain for both the front and the back. And even with all these cost savings, it was still over $60 to make basically a child-sized one and that doesn't include any of my time.

After I had confirmed what size and weight she wanted, and collecting all my bags of pellets, I got to work. Step 1 was to decide on how many sections I was going to split the blanket into and then evenly divide the pellets across the blanket.


I borrowed my friend's kitchen scale and (after some quick math), measured out the pellets. I ended up having 70 squares in my blanket, which meant I needed 70 different containers to house everything. Good thing I had been saving sour cream containers over covid :D. 


It was also a good thing I had borrowed my friend's scale and not just tried to do it by volume, since it turned out my pellets were very different sizes (even though they were all the same brand). This meant I had some squares that were far more full than others. 


I left an edge around the outside of the blanket by stitching about 2" in from the 2 sides and the bottom. I then marked and marked and marked - it was a lot of marking. I made my squares 4", and I didn't want to draw full lines because I wasn't sure about getting them out when I was done, so I had to put ticks frequently enough so I could know where to stitch.


I sewed channels down each column so that they were stitched all the way from the bottom to the top. Then I went along and dumped one container's worth of pellets into each channel. I used a paper rolled into a wrapping paper tube at first to help guide the pellets to the bottom. I also then pinned down the fabric above the pellets to help hold them in place once I moved it around to send it through the machine. This was especially important in the squares that had a higher volume of pellets in them. 


I stitched straight from one side to the other to close off a row, and then would start all over again, shoving pellets down channels. It's certainly not a hard project, but I will say it got tougher the fuller the blanket got, since it was getting more and more heavy and pulling as I was sewing. Eventually everything was full and I closed off the top. Then it was time to pick a binding. I had decided to bind it so that I could just stitch straight from one side to the other every time and not worry about how the end was looking from doing some reverse stitching.


In the end, I decided on the grey binding. I was really happy with how it turned out, and my mom seems happy with the end result.


On a side note, I had considered a weighted blanket for myself, and did try out the one I made my mother for a couple nights before I was able to give it to her, but hadn't thought more about it. Then the other night when I was at the store, they had one in clearance about the size and weight I probably would have made for myself for a lot cheaper than I could have made for myself, so I decided to go for it. However, I had walked to store, which meant I was walking my new 12 lb blanket home with me. It came in a box with a handle, so wasn't too bad to carry, but I sure would have preferred if I could have carried it as 6 lbs on either side :D.

Monday, May 18, 2015

Back in the Saddle

I have had so many things going on lately, I haven't had much time to work on projects. but I'm starting to have time again. It was nice to dust off my sewing machine and get it going again. I have a couple of quilts I am trying to get done for the beginning of July. One is fully pieced, and this weekend I started to learn how to machine quilt in order to keep working on it. I went to a friend's house and we basted it, practiced, and got working on it. I'm now half done :). The other one still needs to be pieced. That's next on my list.


Meanwhile, I will try to get caught up on posting things I've already finished. Here is another blanket I put together for a new baby at church. I found this fabric at JoAnns and loved it. I bought it without a purpose, but I'm glad I did.


Sunday, December 28, 2014

Behind on Blogging

I’ve gotten behind on my blogging again (surprise). I finished a couple things recently that I just forgot to photograph. I also have some really old photos of things I’ve made that I’ve just never posted. I’m going to look back at the blog and compare it to my pictures and see what I could post that I haven’t yet. Hopefully I’ll get caught up on that in the next little while.

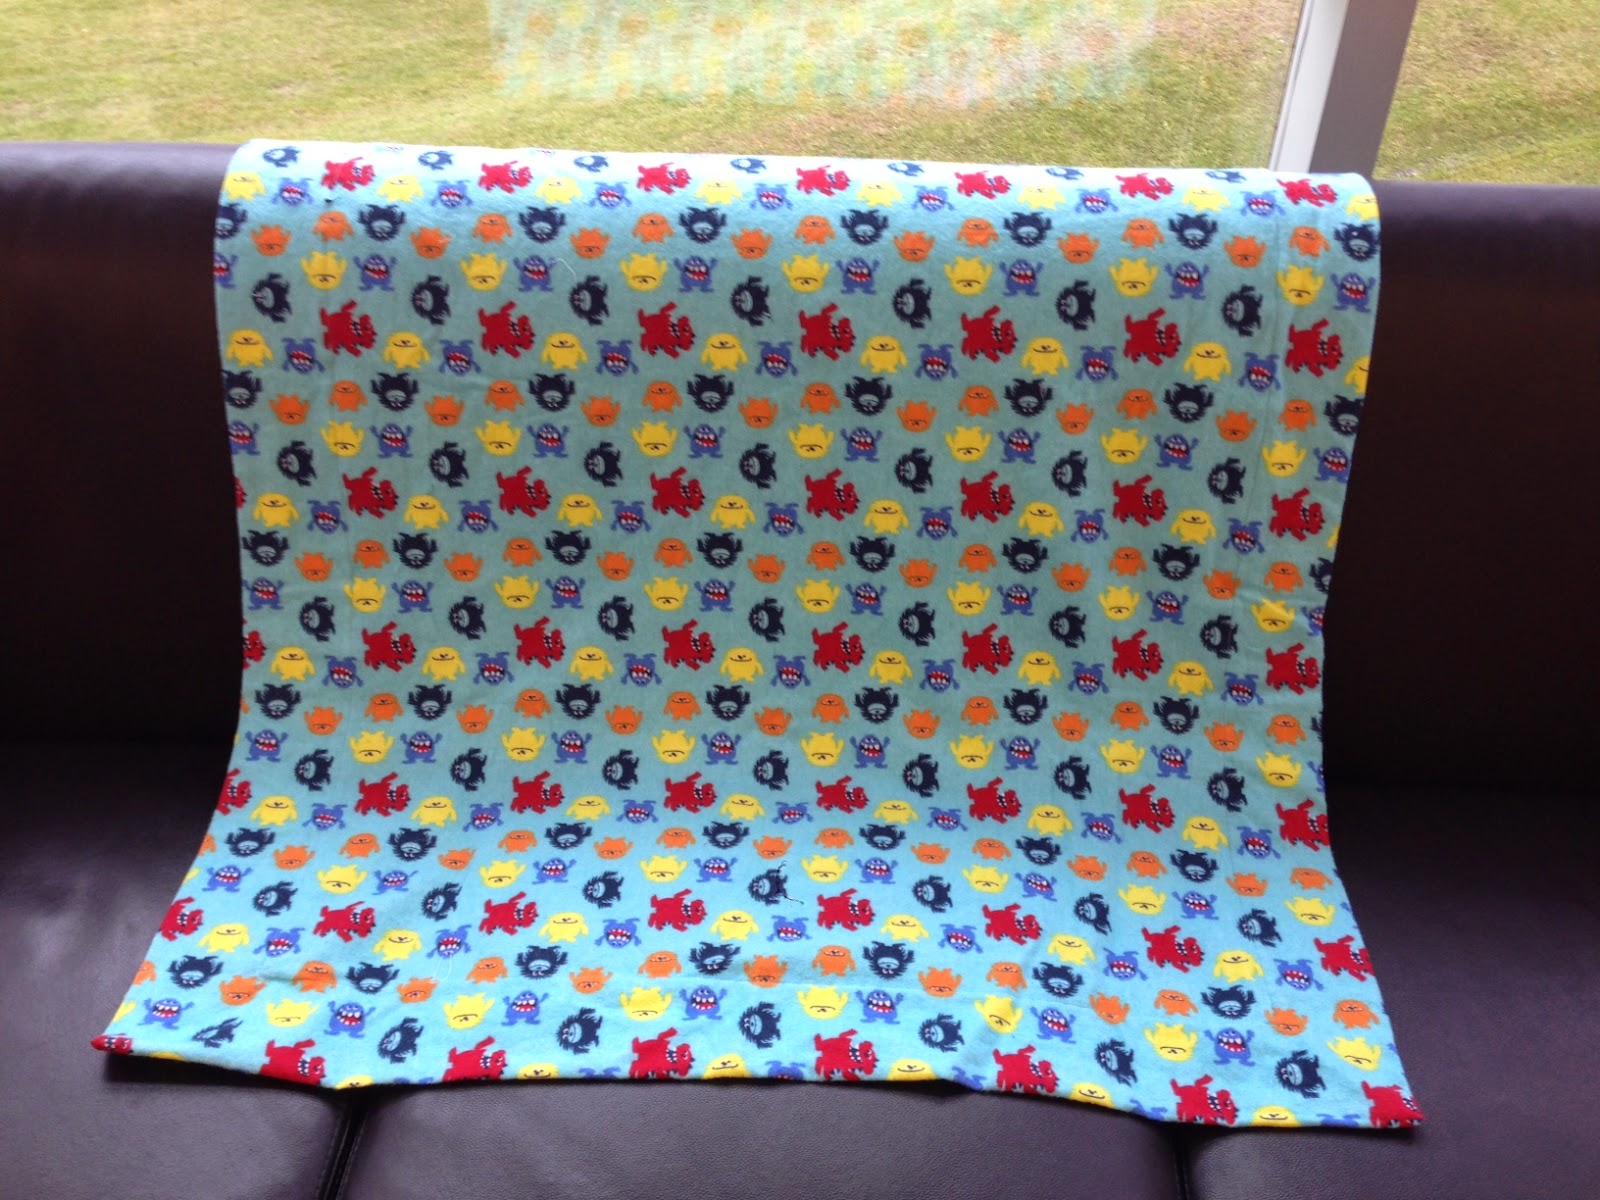
One thing that I did finish recently and managed to take pictures of was another self-binding receiving blanket. I used this tutorial again from Shannon Fabrics. I couldn’t remember the measurements that I had used for my first one that I was so happy with, so I picked new ones - I wasn’t as happy with the final dimensions/proportions, but it turned out fine. Looking back I see I wrote down the first dimension - apparently I didn’t remember that I did that either.


This time around I used minky for the middle section. I had never used minky before, but I had heard that it can be hard to work with so I did some googling. Some of the things I read that I took into consideration included the fact that minky does not need to be washed first because it won’t shrink, minky gets fluffs all over your workspace (and floor, and pants, etc.), and minky doesn’t always feed nicely through your machine so use a walking foot, or make sure it is on the bottom with your feed dogs (what I did).

I made this blanket for a coworker to give her godson. The parameters/directions I was given were monsters and blue. I think I did a good job meeting the criteria.


Again, I was really happy with how it turned out and have already bought more flannel to make another one.

Friday, September 12, 2014

Another One


After the success of the first blanket I made, I decided to make another one. But this time I did things a little differently. All the sewing was the same, but this time I had the new baby's older sister come over to help with the project. She is 11, and has a little sewing experience. She did a great job. I mostly guided, she did all the hard work.


We had a very fun polka dot print this time for the back of the blanket, and Hailey chose a fun stitch for the top stitch.


Wednesday, August 27, 2014

Quick Wins

Sometimes, when you've been working on the same project for a while, it's nice to have some quick wins.

On Sunday, I put together a self-binding receiving blanket. I mostly used the Cuddle Baby Self-binding Receiving Blanket tutorial found at the Shannon Fabrics Blog.  I used flannel for both the front and the back and made it rectangular instead of square. The backing fabric I made 41"x45", and the front fabric I made 28"x32", so altogether it is 34.5"x38.5". It came together fairly easily and quickly and I am quite happy with it. Now I just need the baby to be born.


Last night, I also decided to throw something together for a co-worker's new nephew. I have been interested in trying my hand at a tag blanket, but had never gotten around to it. I decided that I could pull it together with materials I already had. I got out my ribbon supply (thanks to anyone who has given me a present with ribbon on it), and my fabric, and set to work. I pieced together a couple pieces of flannel for what I thought would be the front of the blanket, and grabbed an extra piece of denim I had lying around for the bag. I decided to put the baby's initial on the denim with a piece of flannel. Once everything came together, the denim piece looked nicer than the flannel piece, so I switched what I considered the front and what I considered the back. Big shout out to Becky for helping me with my last minute idea - she handled the ribbon aspect of the blanket.

Flannel side

Denim side
Blanket might be a bit of a misleading word. I cut my squares 11.5", so that the finished square is 11". We felt that 3" of ribbon made a good finished size for the loops, so we cut each piece of ribbon 3" long. We pinned the ribbon tags in place on the top of the flannel square and I stitched around the edge, about 1/8" in, so that the ribbon would stay in place for when I stitched the two sides together. Once I had stitched them together and turned them right-side out, I topped stitched the outside. It really added nicely to the look.


 Finishing things really does feel good.