Showing posts with label fabric. Show all posts

Thursday, May 12, 2022

Catching Up on Christmas: Part 3


The final thing left on my Christmas catch up are the gifts I made for my brother. Quite a while ago, I purchased a couple panels of Canadian cities, knowing that I wanted to make something for my brother out of them, but not knowing what. One thing that had crossed my mind was seat cushions, so when he asked me to make him a seat cushion in the fall, I knew it was time to dig out the panels.


I had also bought some fabric with the provinces listed on it to go with whatever I had decided to do with the panels. I don't have a close up shot of that to show here. I thought I only had a little, so I used it sparingly, and then it turned out I had more than I thought, so I could have used more (especially because I don't have another plan for it)


I made an envelope-style cover, with ribbon ties coming out the two back corners. I then wrapped some foam in batting and stuffed it inside. 


I put them together in a couple groups. Quebec (above)/Ontario(below) were one set.


Then I did  a set of four that contained western cities on one side...


And eastern cities on the other.


I had a few too many panels, so I saved the west-coast ones for another project.


He also needed a new mask (since the one I threw together 2 years ago for use for a few weeks had been well worn). This year, he got season's tickets to see the Kitchener Rangers play (when we could do things in person), so I made him a mask to wear to the games.


I think I have now caught up on posting about last year's Christmas gifts. It's probably time to start working on this year's gifts :D.

Tuesday, May 10, 2022

Christmas Catch Up Part 2: Just What You've Been Weighting For

For Christmas, I gave my mother a box with some fabric, some weighted pellets, and a note that said "sewing included".

I knew she wanted a special size of weighted blanket, but I wasn't sure exactly how heavy she wanted it or what size she wanted, so I thought it was best to confirm these things before I put the work in.

For anyone interested in making a weighted blanket, let me just say that, in my experience (as is the case with many homemade things), it certainly didn't save me any money to make it myself. I went back to Michael's on a regular basis to buy one bag of pellets at a time. Which was difficult because there were a number of bags that had ill-formed pellets that I didn't want. So I ended up with two very different colours and sizes of pellets.


I also picked up what I think was a cloth shower curtain from the clearance section at Marshall's. It was a really fun print, and a bit bigger of a print than you would generally get on a quilting cotton. Plus, because my mom wanted a smaller blanket, I was able to use the curtain for both the front and the back. And even with all these cost savings, it was still over $60 to make basically a child-sized one and that doesn't include any of my time.

After I had confirmed what size and weight she wanted, and collecting all my bags of pellets, I got to work. Step 1 was to decide on how many sections I was going to split the blanket into and then evenly divide the pellets across the blanket.


I borrowed my friend's kitchen scale and (after some quick math), measured out the pellets. I ended up having 70 squares in my blanket, which meant I needed 70 different containers to house everything. Good thing I had been saving sour cream containers over covid :D. 


It was also a good thing I had borrowed my friend's scale and not just tried to do it by volume, since it turned out my pellets were very different sizes (even though they were all the same brand). This meant I had some squares that were far more full than others. 


I left an edge around the outside of the blanket by stitching about 2" in from the 2 sides and the bottom. I then marked and marked and marked - it was a lot of marking. I made my squares 4", and I didn't want to draw full lines because I wasn't sure about getting them out when I was done, so I had to put ticks frequently enough so I could know where to stitch.


I sewed channels down each column so that they were stitched all the way from the bottom to the top. Then I went along and dumped one container's worth of pellets into each channel. I used a paper rolled into a wrapping paper tube at first to help guide the pellets to the bottom. I also then pinned down the fabric above the pellets to help hold them in place once I moved it around to send it through the machine. This was especially important in the squares that had a higher volume of pellets in them. 


I stitched straight from one side to the other to close off a row, and then would start all over again, shoving pellets down channels. It's certainly not a hard project, but I will say it got tougher the fuller the blanket got, since it was getting more and more heavy and pulling as I was sewing. Eventually everything was full and I closed off the top. Then it was time to pick a binding. I had decided to bind it so that I could just stitch straight from one side to the other every time and not worry about how the end was looking from doing some reverse stitching.


In the end, I decided on the grey binding. I was really happy with how it turned out, and my mom seems happy with the end result.


On a side note, I had considered a weighted blanket for myself, and did try out the one I made my mother for a couple nights before I was able to give it to her, but hadn't thought more about it. Then the other night when I was at the store, they had one in clearance about the size and weight I probably would have made for myself for a lot cheaper than I could have made for myself, so I decided to go for it. However, I had walked to store, which meant I was walking my new 12 lb blanket home with me. It came in a box with a handle, so wasn't too bad to carry, but I sure would have preferred if I could have carried it as 6 lbs on either side :D.

Saturday, April 9, 2022

Bird Quilt: Part 2

Continuing the quilting journey (from the first part)...

We came home from Christmas break with a quilted quilt.

However, once we got the quilt home, we decided it needed a bit more quilting. We added more circles to the outer Eric Carle fabric (which can really only be seen from the back).


I also drew in some wind lines across the sky, and doubled the quilting around the clouds.


When I was fabric shopping and found the Eric Carle fabric, I also found the perfect backing fabric.


While it wasn't the exact same style of birds, it was still fun, colourful, whimsical birds, and I think it was as close as you can get without having custom designed fabric.

A better view of the quilted circles.

We finished it off with a yellow binding.


Then we packaged it up for delivery at a drive-thru baby shower. 


I love the way a quilt looks when I wrap it up this way. However, I find that when I do, it doesn't get untied and unrolled without explicit instructions. What do you do when you gift a quilt?


To go with the Eric Carle fabric, we also gifted a board book copy of The Very Hungry Caterpillar, and I made a card to match the theme (with the help of my cricut).


I was very pleased with this project and how it came together. I hope the new baby is getting lots of nice snuggles in it.

Thursday, April 7, 2022

Teamwork Makes the Dream Work: Bird Quilt Part 1

Some of the earliest posts on this blog were about a fish quilt that my mom and I made for family friends. Well, when we heard that the brother of the recipient of the first quilt was also having a baby, we knew we needed to get to work again.

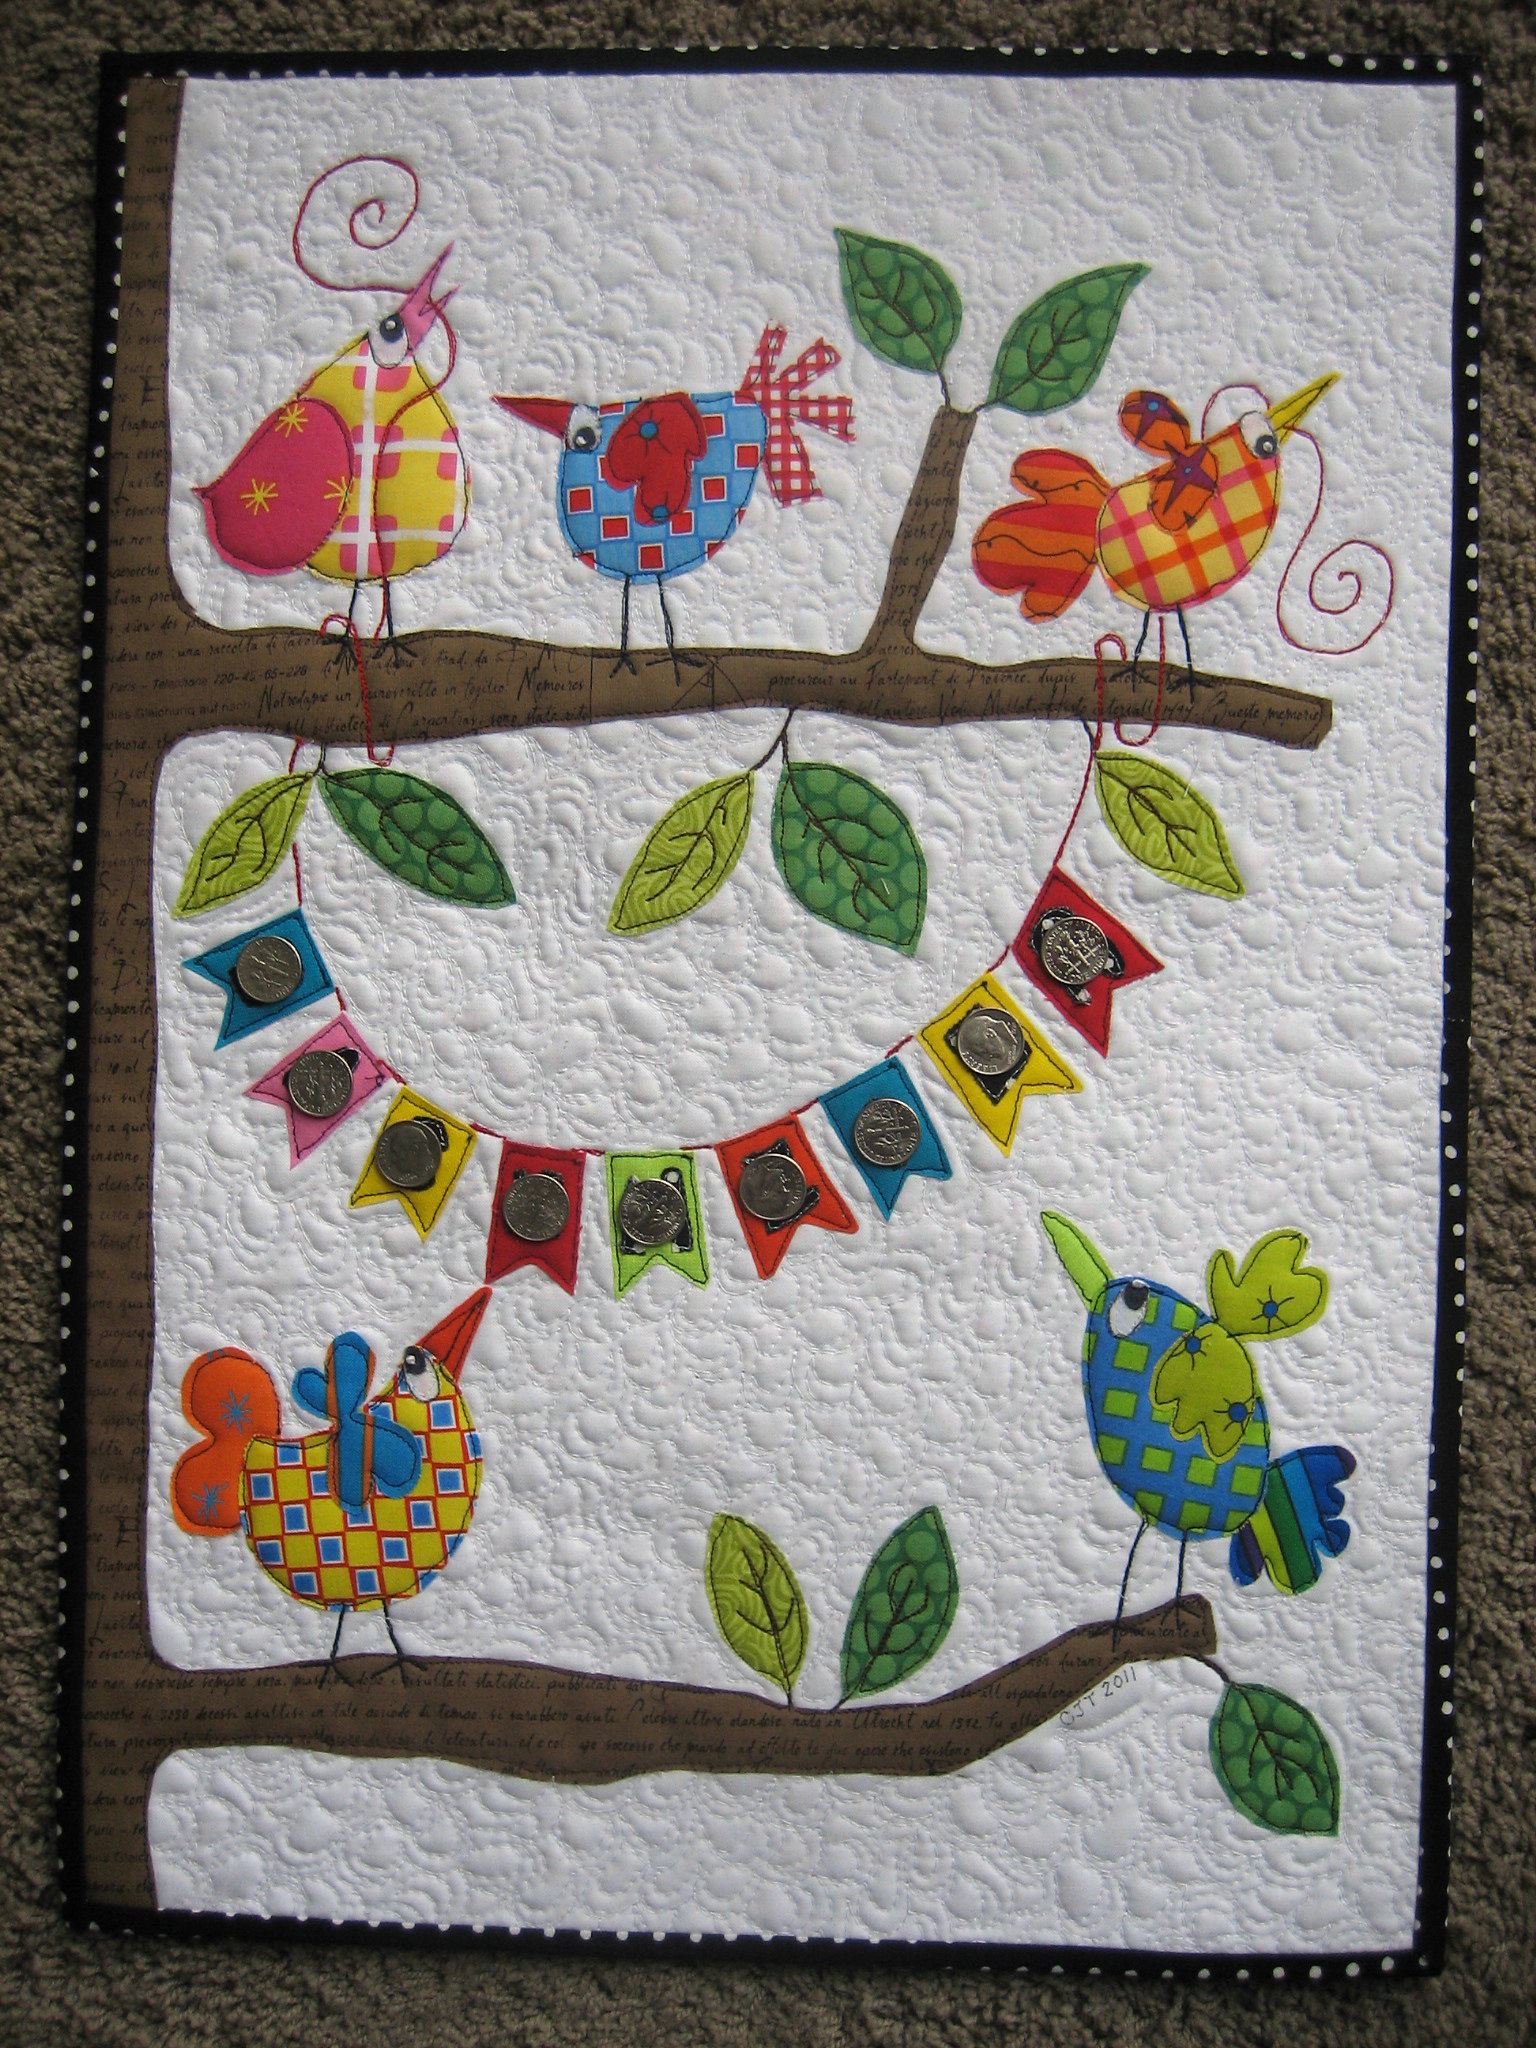
As we looked around for inspiration, we found this quilt that we really liked by Carol. It wasn't until after I designed a quilt around it that I realized that hers was only 15"x20".

A client's wall hanging

I got to work with my pencil and my graph paper.

And once I had an idea I was fairly happy with, it was time to draw it larger. I drew out all the branches on a single piece of paper that was the size I wanted for our quilt. Then I drew each bird on their own pages so I could cut them out and play around with placement, size, etc.


I also headed to the fabric store while they were having a sale and looked for inspiration. I found this colourful Eric Carle fabric that was fantastic, so I snapped that up. And I was able to find a green in my stash that went really well.


The next thing was to pull out our stashes and pick fabric for the various bird while balancing colour and colour placement.

Can you see our vision yet? :D

We decide to do the branches using raw edge applique and stitching it down by machine, which my mom took the lead on.


The leaves and birds we decided to hand applique, which my mom also took the lead on. (This is what happens when two people in two different cities work on a quilt during a pandemic.)

Confirming placement from a distance

The bits of the birds (legs, tails, head pieces), we decided to do by machine as well. (We wanted to make sure the baby quilt was durable for using and washing.) 


Here is a gap for the legs to be added.

Because of this, my mom left parts of the birds open so that I could come in later and do the machine parts.

See the pair of orphaned legs in the middle there?
It was easier to not hand stitch anything yet for that bird.

You might have noticed these birds don't have any eyes yet. We struggled with what to do for the eyes - especially given that we were trying to make a durable baby quilt that also wasn't an insane amount of work. In the end, we decided to use a fabric marker to draw the black parts of the eyes onto white paper. It was set with the iron and then hand appliqued on to the birds. I did this on boxing day while my parents abandoned my brother and I to have Christmas with others :P (Covid restrictions limited who could be there and we had gotten to do Christmas with my parents the day before.) Apparently I didn't document this part of the process.


Over Christmas break we took the quilt up to my grandparents house with us to put in the frames so we could baste it and then quilt it in the hoop later. But as is the case with taking project to gramma's, there's lots of encouragement to keep quilting :). 


We got to do some three-generational quilting on the top and managed to get it quilted and rolled for all the markings we had done.


It's always great to quilt with others (that's often the point of quilting :)), and it was especially nice to have some family time around the quilt after having 2 years of limited interactions. (This was the first time my parents and my brother and I were seeing my grandparents at the same time since Christmas 2019.)

Wednesday, March 16, 2022

Gifts for a Friend: UK Edition

I have a friend who likes all things London/UK. So when I find fabric that fits the bill, I grab it and then (try to) come up with something to make her.

Thankfully she's the kind of friend who asks for things she wants, so a while ago when she asked me to make her a grocery bag holder, I knew exactly what fabric to dig out.


I bought this fabric when I was visiting another friend in the UK, and I hadn't yet come up with what I wanted to make for her out of it.


A grocery bag holder is a very practical thing, and also super easy to make.

Her next request was for a double oven mitt. I had just enough fabric left to fulfill this request. I used a tutorial provided by the Crafty Gemini:


First I auditioned fabrics for the ends and the binding.


I ended up deciding to keep it uniform - it showed off the fabric better.


I also ended up using some biased binding that I had bought a few years ago at the thrift store. I also had basically exactly the right amount of thermal insulation for this project.


Finally, I found this panel in the clearance section at the fabric store this past year, and knew I needed to get it for her. 

I spent some time thinking about what I might do with it, but I wasn't coming up with any great ideas, plus the sashing didn't seem to lend itself to being cut apart and sewn back together.


Instead, I kept it together as a single panel and just quilted it.


I machine quilted it with my walking foot, following the diagonal lines in the Union Jacks, but switching direction in the middle. This made v-shapes along the edges and a diamond in the middle


I varied the width between the lines, which were fairly close together and it ended up being a lot of quilting (went through a couple small spools - thankfully the store had 1 spool of the colour I needed when I got there, though it took a while to find).


I thought she could use it as a table runner, a couch runner, or a lap blanket, depending on how she was feeling.

And so ends the recap of some of the UK-themed gifts I've made for my friend over the last few years (there have been more gifts, but I didn't have easily accessed photos of them).