Showing posts with label quilting. Show all posts

Sunday, May 29, 2022

Hands2Help Quilts

I am joining the Hands2Help parade and am sneaking in under the wire. I just put the last stitches in the binding and took the pictures :).

One of my goals is to use up some of the fabric I have inherited from various sources. Some of it is definitely easier to use than others :D. For the Hands2Help challenge, I chose to use a panel that I had. It seems like it's an old one, but it's also timeless.

I started by stitching a serpentine stitch down the length of each line. I got the idea from other blogs that I read, and was really happy with how this came together. The only tricky part was when I got to the middle I would have to remember to switch to my regular stitch so I could follow the design along to the next line to go down (I didn't want to have to deal with all those loose ends).

The next thing I did was trace around the scalloped border on the inside. I did this with my regular stitch because I didn't quite trust my ability to do it as free motion quilting.


After that I switched to free motion quilting. I added some grass at the bottom. I'm not good at straight lines, so I drew lines straight across to help me know where I was going. I also didn't want lots of ends to tie in from this so I worked left to right the first row, then moved up and worked right to left. I found that direction harder when I was practicing, so I actually turned the quilt upside down and worked that was instead.


I also traced around all the animals and balloons, and added some clouds to the sky to help fill things in.


I was really happy with the back I found to go with it (also an inherited fabric). Especially since the lines on the front were yellow, pink, green and blue, and the backing fabric was yellow with pink, green, and blue circles on it.


I bound it with a yellow binding, which looks great. This was a bit of a tough one to square up (some of the dangers of inherited fabrics).


This quilt will be going to Project Linus to hopefully make someone happy. I will also be donating two quilts I finished a number of years ago, but that just haven't found their way out of my house yet:


Saturday, April 9, 2022

Bird Quilt: Part 2

Continuing the quilting journey (from the first part)...

We came home from Christmas break with a quilted quilt.

However, once we got the quilt home, we decided it needed a bit more quilting. We added more circles to the outer Eric Carle fabric (which can really only be seen from the back).


I also drew in some wind lines across the sky, and doubled the quilting around the clouds.


When I was fabric shopping and found the Eric Carle fabric, I also found the perfect backing fabric.


While it wasn't the exact same style of birds, it was still fun, colourful, whimsical birds, and I think it was as close as you can get without having custom designed fabric.

A better view of the quilted circles.

We finished it off with a yellow binding.


Then we packaged it up for delivery at a drive-thru baby shower. 


I love the way a quilt looks when I wrap it up this way. However, I find that when I do, it doesn't get untied and unrolled without explicit instructions. What do you do when you gift a quilt?


To go with the Eric Carle fabric, we also gifted a board book copy of The Very Hungry Caterpillar, and I made a card to match the theme (with the help of my cricut).


I was very pleased with this project and how it came together. I hope the new baby is getting lots of nice snuggles in it.

Thursday, April 7, 2022

Teamwork Makes the Dream Work: Bird Quilt Part 1

Some of the earliest posts on this blog were about a fish quilt that my mom and I made for family friends. Well, when we heard that the brother of the recipient of the first quilt was also having a baby, we knew we needed to get to work again.

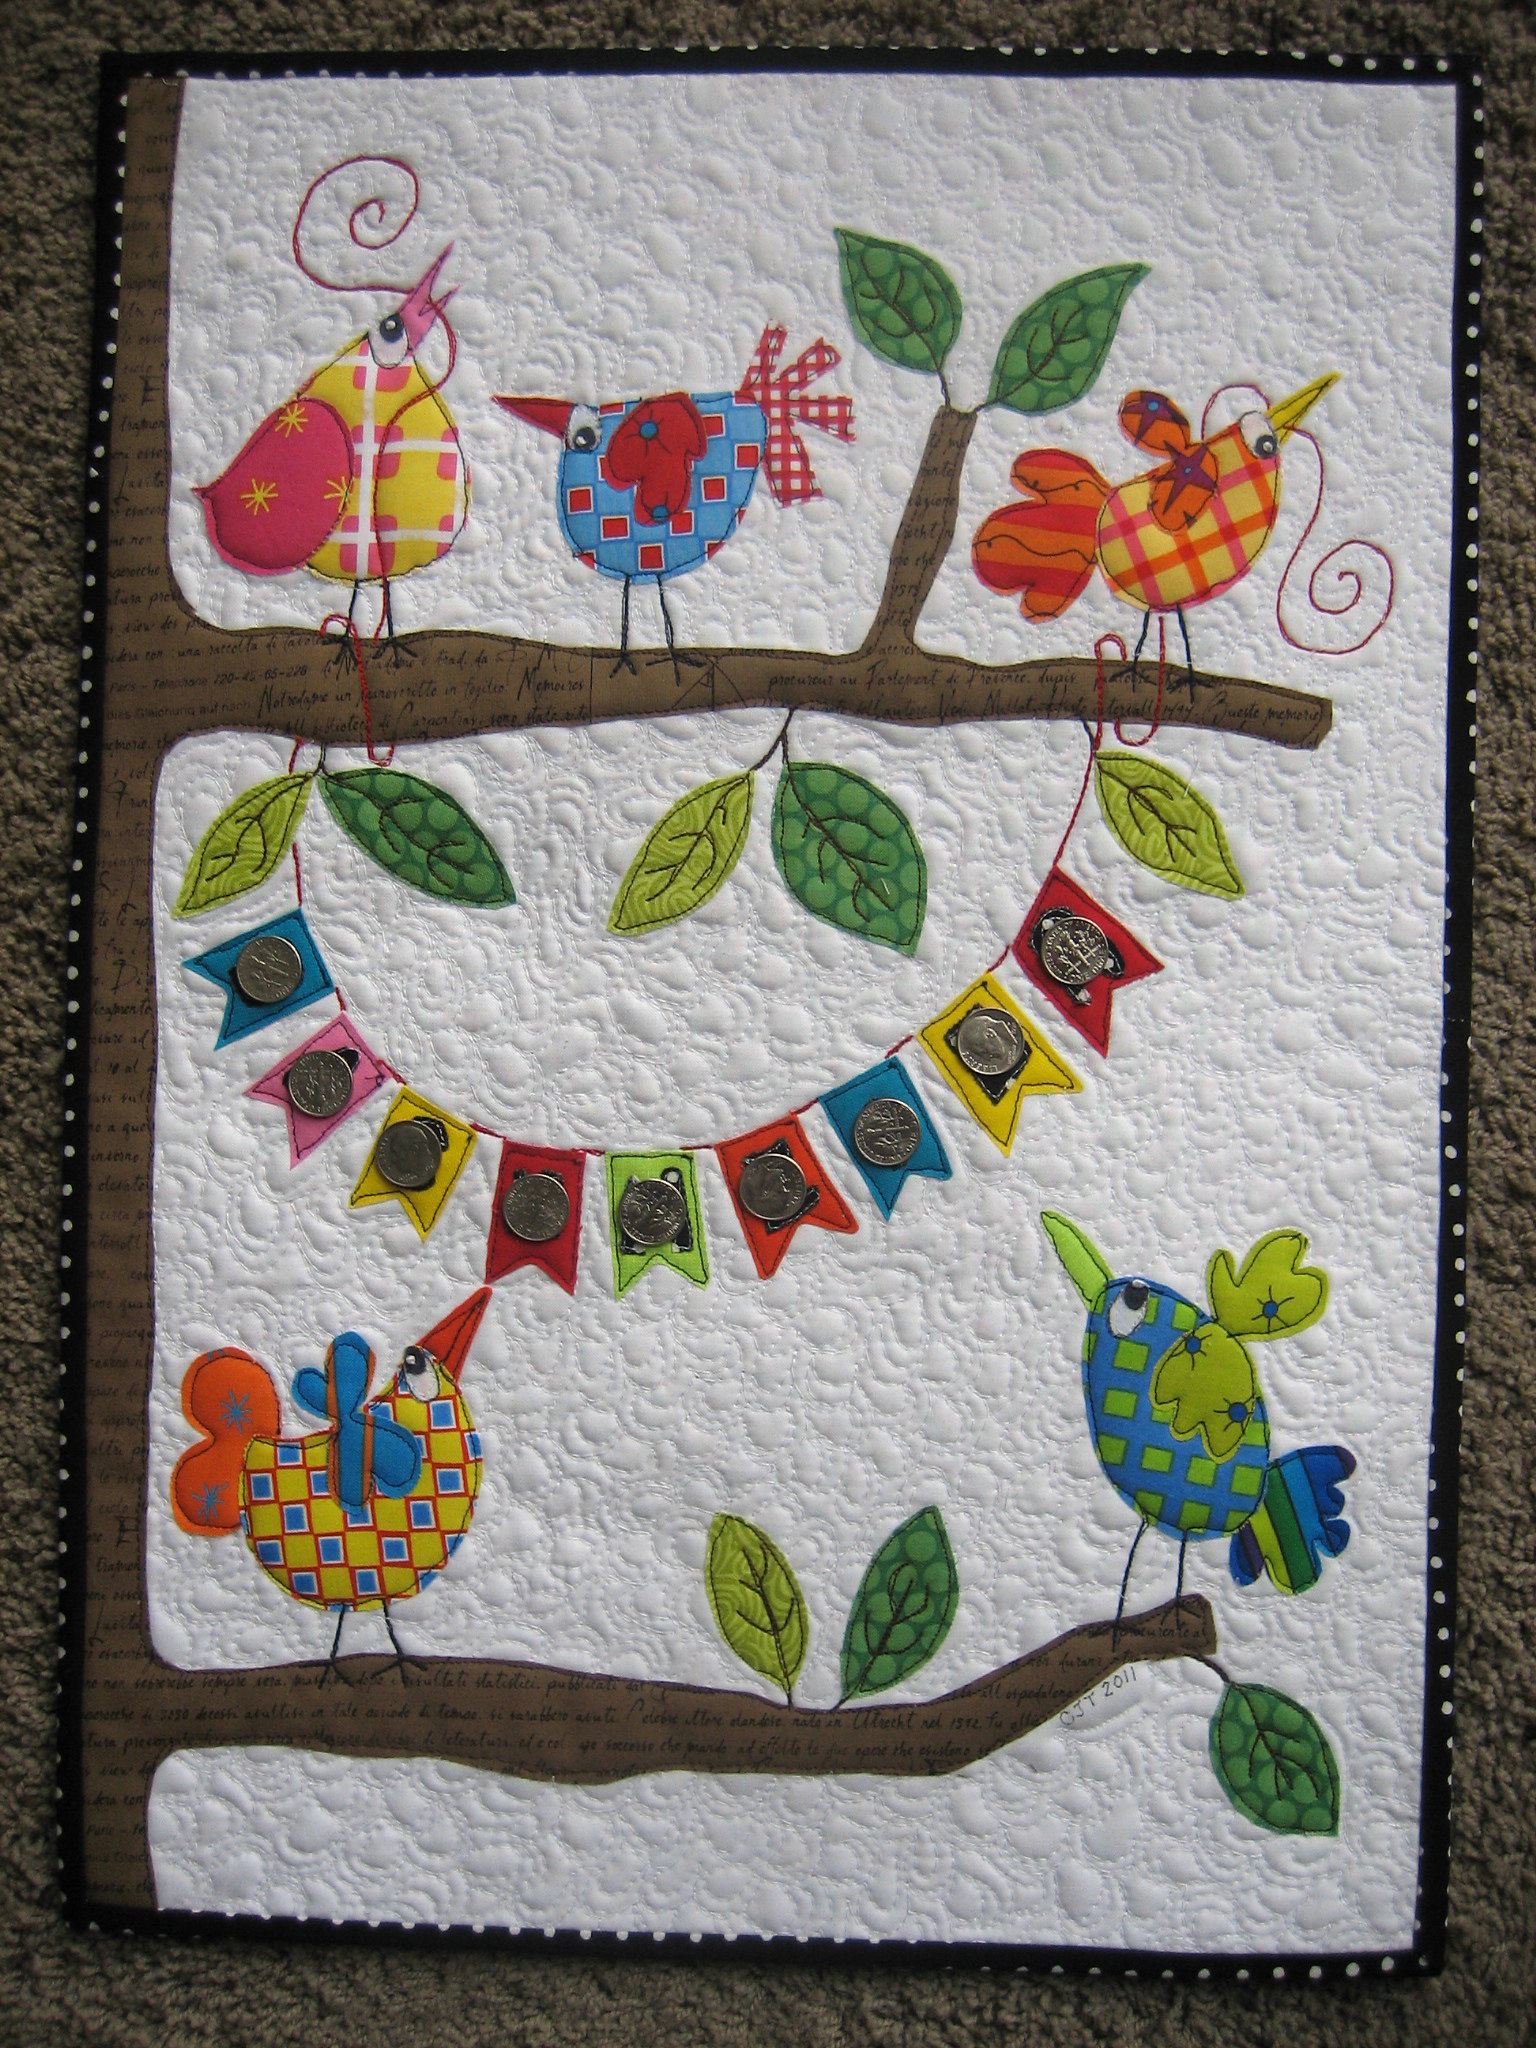
As we looked around for inspiration, we found this quilt that we really liked by Carol. It wasn't until after I designed a quilt around it that I realized that hers was only 15"x20".

A client's wall hanging

I got to work with my pencil and my graph paper.

And once I had an idea I was fairly happy with, it was time to draw it larger. I drew out all the branches on a single piece of paper that was the size I wanted for our quilt. Then I drew each bird on their own pages so I could cut them out and play around with placement, size, etc.


I also headed to the fabric store while they were having a sale and looked for inspiration. I found this colourful Eric Carle fabric that was fantastic, so I snapped that up. And I was able to find a green in my stash that went really well.


The next thing was to pull out our stashes and pick fabric for the various bird while balancing colour and colour placement.

Can you see our vision yet? :D

We decide to do the branches using raw edge applique and stitching it down by machine, which my mom took the lead on.


The leaves and birds we decided to hand applique, which my mom also took the lead on. (This is what happens when two people in two different cities work on a quilt during a pandemic.)

Confirming placement from a distance

The bits of the birds (legs, tails, head pieces), we decided to do by machine as well. (We wanted to make sure the baby quilt was durable for using and washing.) 


Here is a gap for the legs to be added.

Because of this, my mom left parts of the birds open so that I could come in later and do the machine parts.

See the pair of orphaned legs in the middle there?
It was easier to not hand stitch anything yet for that bird.

You might have noticed these birds don't have any eyes yet. We struggled with what to do for the eyes - especially given that we were trying to make a durable baby quilt that also wasn't an insane amount of work. In the end, we decided to use a fabric marker to draw the black parts of the eyes onto white paper. It was set with the iron and then hand appliqued on to the birds. I did this on boxing day while my parents abandoned my brother and I to have Christmas with others :P (Covid restrictions limited who could be there and we had gotten to do Christmas with my parents the day before.) Apparently I didn't document this part of the process.


Over Christmas break we took the quilt up to my grandparents house with us to put in the frames so we could baste it and then quilt it in the hoop later. But as is the case with taking project to gramma's, there's lots of encouragement to keep quilting :). 


We got to do some three-generational quilting on the top and managed to get it quilted and rolled for all the markings we had done.


It's always great to quilt with others (that's often the point of quilting :)), and it was especially nice to have some family time around the quilt after having 2 years of limited interactions. (This was the first time my parents and my brother and I were seeing my grandparents at the same time since Christmas 2019.)

Wednesday, March 30, 2022

Postcards from Muskoka

Many moons ago (2014) I posted about a shop hop I went on with my friend (Part 1 and Part 2 posts). Well, I finally finished all of the blocks.

The quilt pattern, called Postcards from Muskoka, was designed by Joni Newman of Quirks and Quilts. Here is what her original version looked like:

Image taken from Quirks and Quilts blog

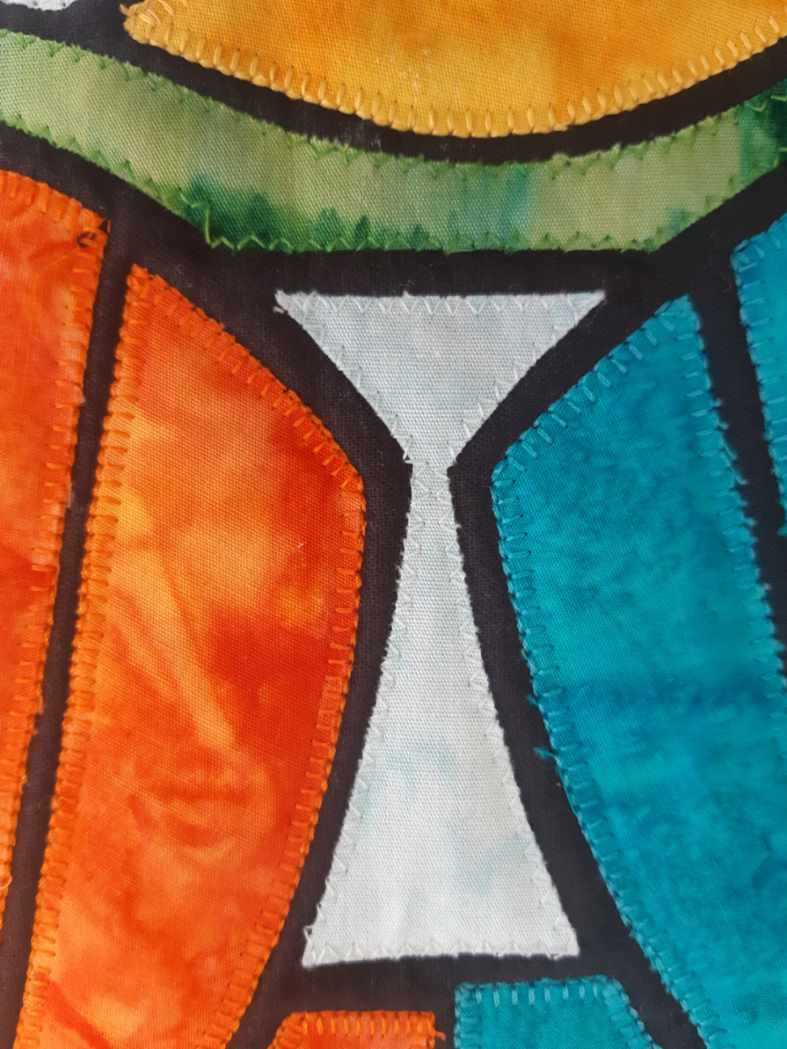
I love the look of stained glass and have done a number of stained glass projects now, but this is one of the ones that got me started. Joni has a tutorial on her website for how she does the stained glass technique that is very helpful.

Beach umbrella

I decided to complete each block separately instead of finishing them as a single wall hanging.

Muskoka chairs

I also decided to do a little experimenting about how I finished the quits.


I tried a blanket stitch as well as a zig-zag stitch (both in black and in a thread colour that matched).


I also experimented with whether I stitched just through the top and then quilted separately or not.

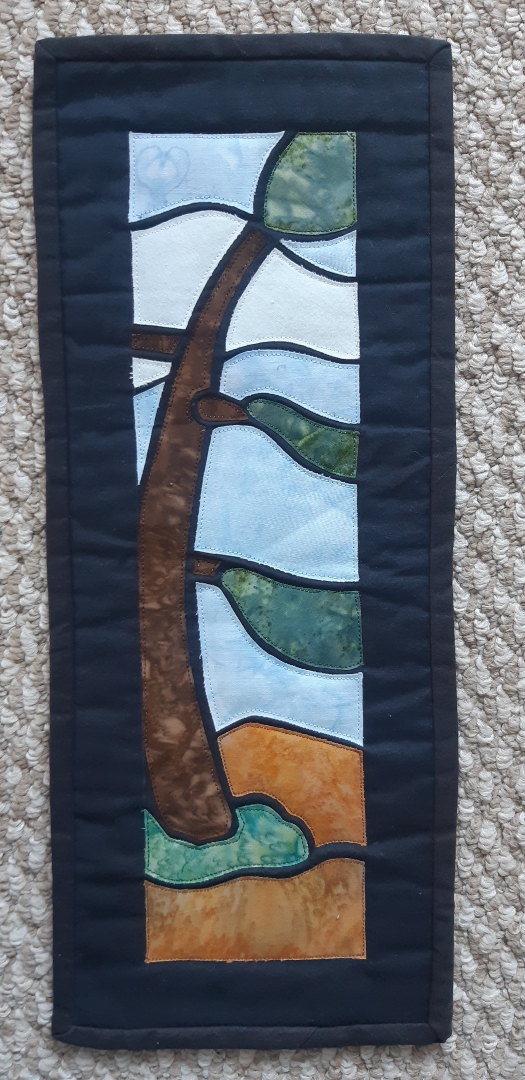
Pine tree

In the end, I decided that my preferred method was a straight stitch in a matching colour that went through all 3 layers to both stitch down the pieces and provide the quilting.


I did a few of these - enough to get my feet underneath me, and then I moved on to a few other ones that had purposes and timelines.

Heart-shaped in the sky.
Fabric just worked out that way.

I dusted them back off during covid and continued to work on the ones I hadn't done yet.

Northern lights

Speaking of covid, when we were set home over 2 years ago, for what seemed like it was going to be a short amount of time, I decided that I didn't need the shoes I kept at my desk (and my winter boots), but I did take these wall hangings that I had completed off the wall at work and brought them home (priorities :D). 

Cabin

They're a great project because they don't require a lot of planning (just picking fabric) and are a fairly quick finish (if you own the right thread).

Loon

I used batiks for most of the panels, but I did find on the loon that I wanted a few black and white fabrics and didn't have a batik that fit the bill. Instead I picked a couple fabrics out of my gramma's stash when I was up there :) (that's starting to be a theme of my blog :D)

Campfire

I like all of the blocks, but I think the campfire and canoe are two of my favourites.

Canoe

I used some of my more plentiful batiks for the backs of the projects.


I haven't decided how exactly I'm going to hang them (especially since I no longer have a wall at work to put them on). But here is the whole set.


Sunday, March 27, 2022

Covid Quilt Challenge Round-Up: Part 2

It's been a while since we stop, but I wanted to make sure I was up to date on my record keeping, so here is the round up of the other half of the covid challenge quilts.

The first round up happened a while ago :). 

Challenge #11: Bobbin work

Friend

Me
Challenge #12: HSTs

Friend


Me

Challenge #13: Bluework
Friend

Me

Challenge #14: Improv lettering

Friend

Me

Challenge #15: Fancy stitches

Friend

Friend

Me

Me

Me
Challenge #16: Big stitch quilting

Friend

Friend

Friend

Me

Me
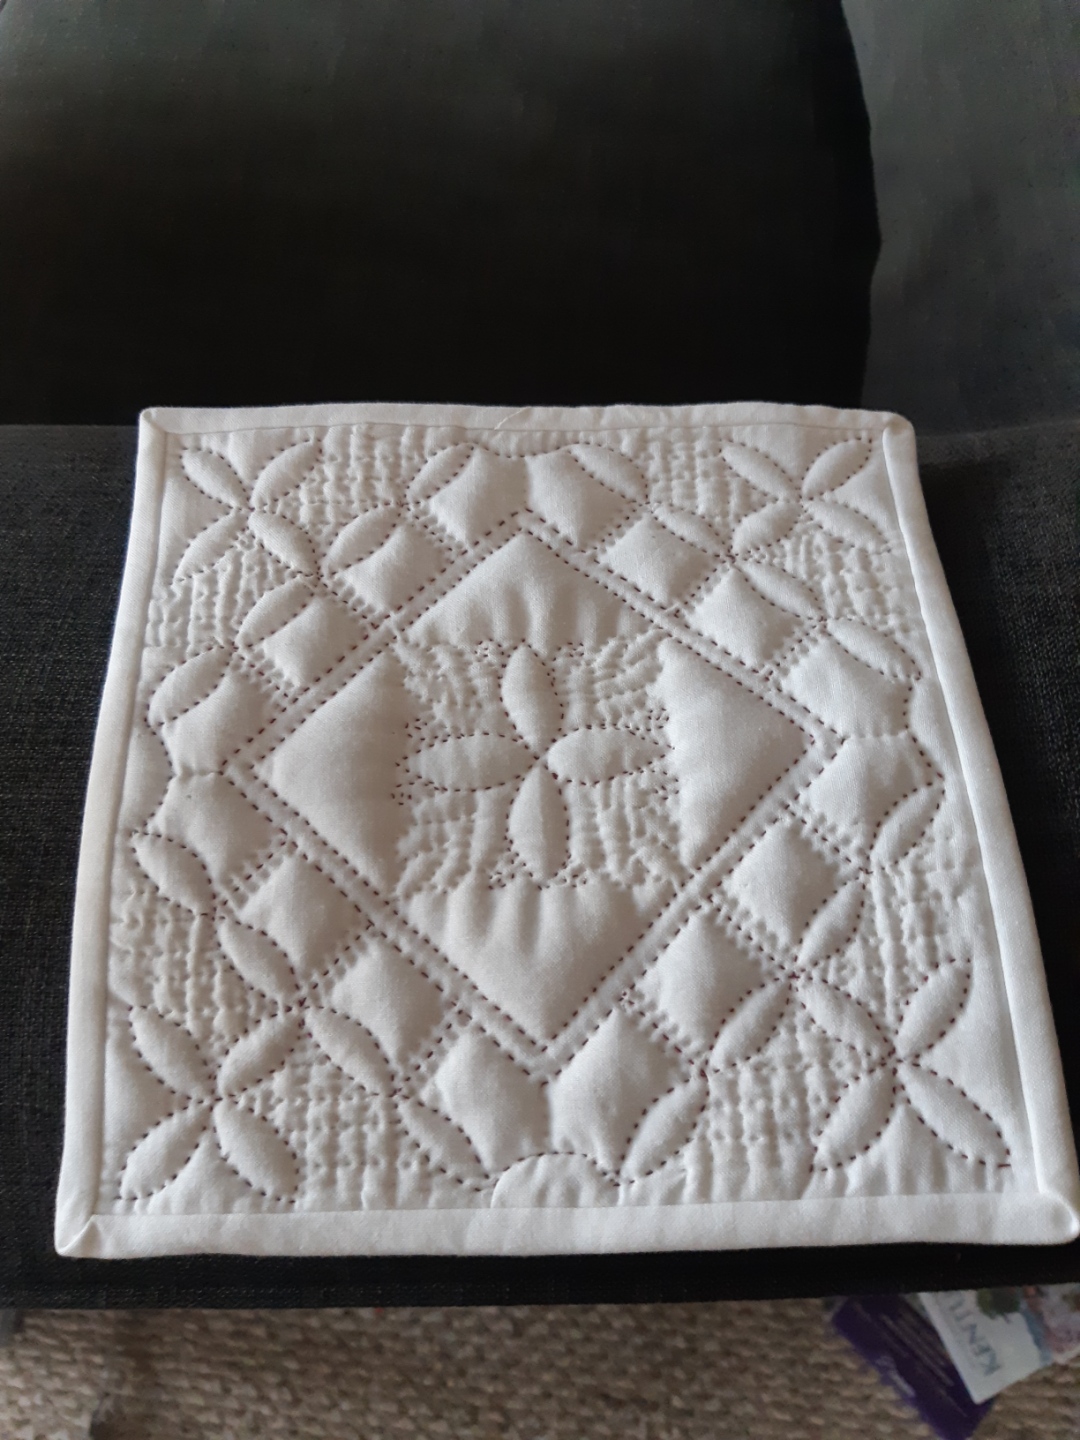
Challenge #17: Whole cloth

Friend (machine)

Friend (hand)

Me (hand)

Challenge #18: Improv piecing
Friend

Friend

Me

Me

Me