Showing posts with label crafts. Show all posts

Sunday, May 8, 2022

Catching Up on Christmas

Next up on my backlog is posting about projects I made for Christmas.

Don't let this post deceive you, they were done before Christmas, I just didn't post about them.

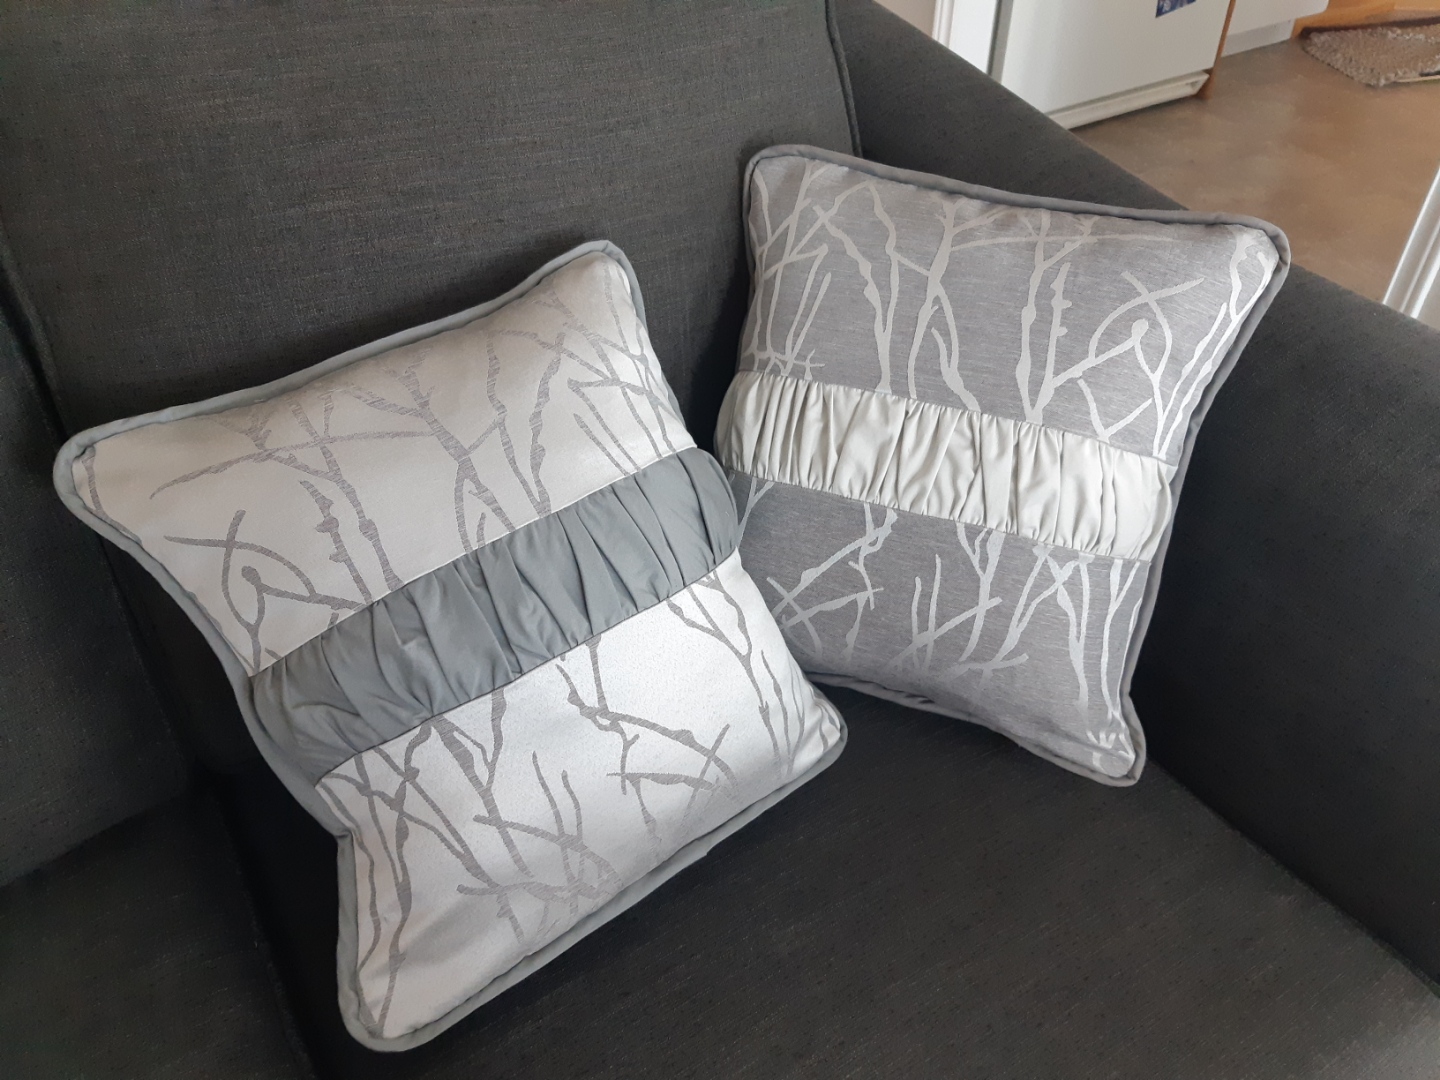
Some time last year, I hemmed a curtain for my friend to use across her under-the-stairs storage. When she wasn't looking, I snuck the cut-off home with me to use at a later date. I decided Christmas was that later date.

She just finished a basement upgrade (well her dad just finished it) and so I decided she could use some cushions for her new living area to match her curtain. The fabric sides were inverse of each other (dark with light branches and light with dark branches), so I decided to take advantage of that and utilize both sides.

I also decided to add a ruched bit in the middle. (I originally saw this idea in a magazine I got for Christmas one year, though when I wanted to confirm the length of fabric I might want to use, I could not for the life of me find the magazine).

One thing I will say is that this fabric really had a life of its own - and staying square wasn't high on it's priority list. So to make my life a little easier, I used freezer paper on the back of the fabric until I was done attaching it to everything, and that really helped.

Another thing I added was pipping. The Seasoned Homemaker has my go-to pipping tutorial. I have used it a countless number of times.

I didn't have enough fabric for all of that out of what was left from the curtain, so I used some grey cotton from my stash for the ruching and pipping. I went with a darker pipping and lighter ruching on with the dark side of the fabric, and a lighter pipping and darker ruching for the lighter side of the fabric.


With the ruching, the pipping, and the curtain fabric, I think they came out looking very professional, and not at all like a homemade pillow.

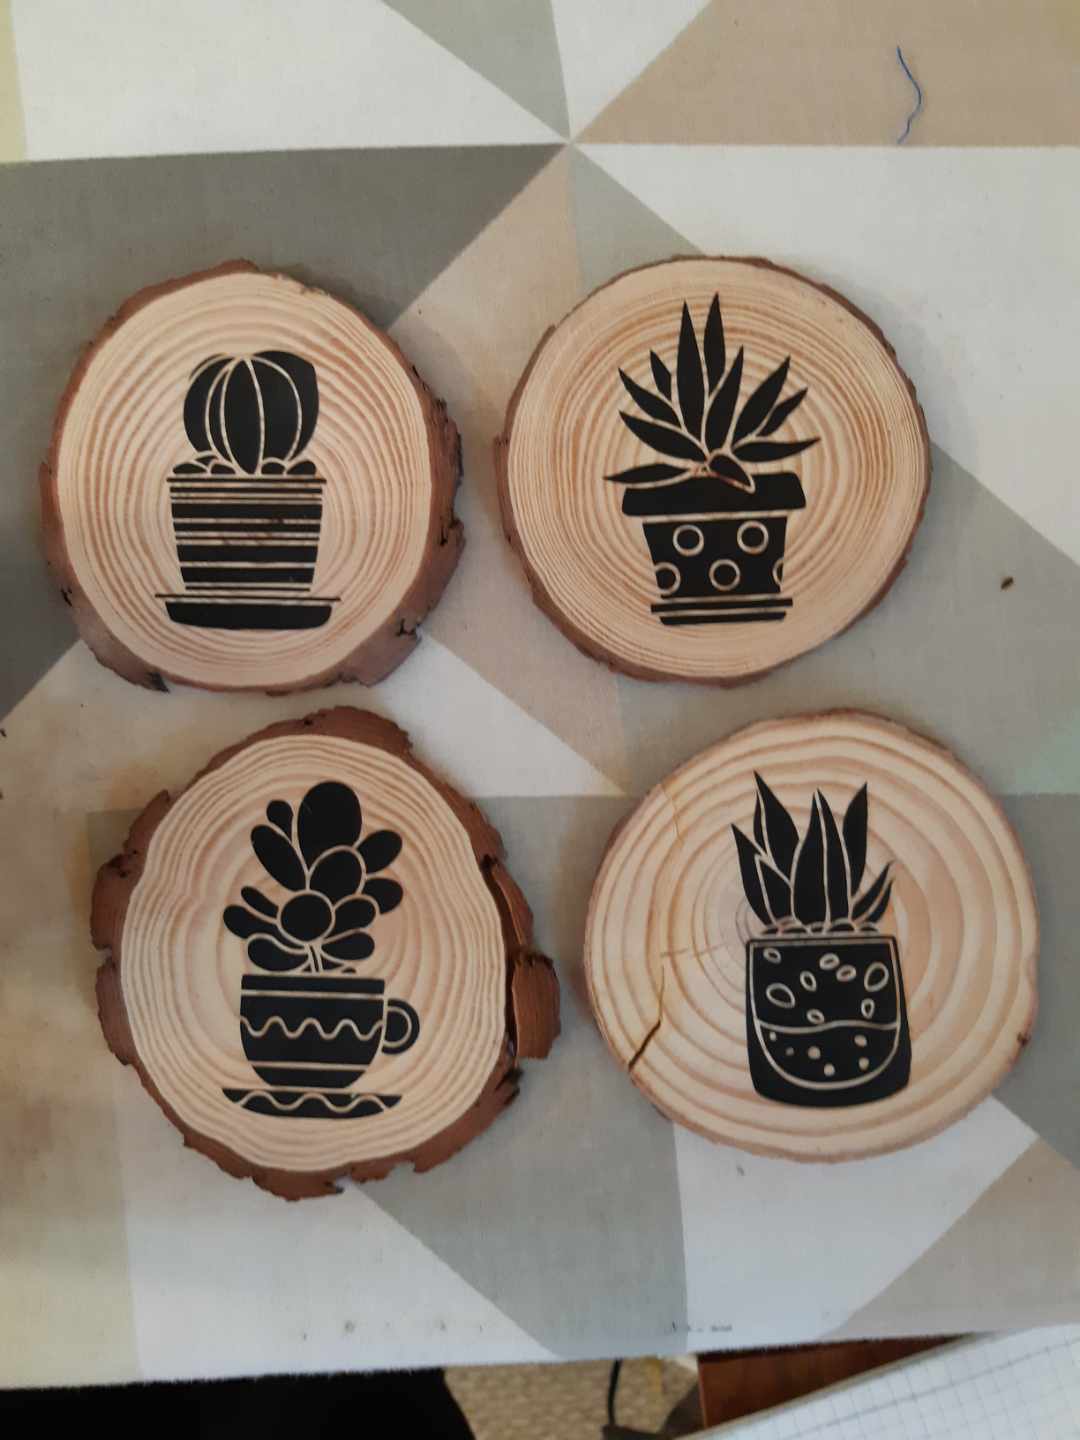
For the same friend, I also utilized some new skills on my Cricut. I had bought some wooden coasters and wanted to jazz them up. She always has so many lovely plants in her home, so I decided I would go with that for a theme.

Test run in vinyl on paper

I found some designs I liked, cut them out of iron-on vinyl, and attached them to the wooden coasters. That's the white-washed version of how things went (and how I planned it, because you know, I watched a 5 min youtube video). In reality, I started too late, didn't have everything planned, and was trying something completely new. So I was in my craft room at 10 PM the day before Christmas Eve (when I was leaving at lunch the next day and hadn't packed yet), freaking out because nothing was working.

A couple things I learned: First, not all wooden things are created equal. Part of the problem was that my surface wasn't smooth enough. Thankfully I had some sandpaper that I could take to it, and after sanding it down for a while, it went much better. Second, small pieces are trickier. Originally I was going to just do the outline, but there wasn't really enough there to stick down. Even as is, with the transfer tape on top of it some of those pieces just didn't want to stick and I had to go with the iron straight on it (but not for too long or that was also a problem).


Did I have to cut the first one out multiple times because I ruined it trying to attach it? Yes. Did I have to glue felt to the bottom because I ruined one side of one of them and had to turn it over and use the other side? Yes. But, overall am I happy with them? Yes. 

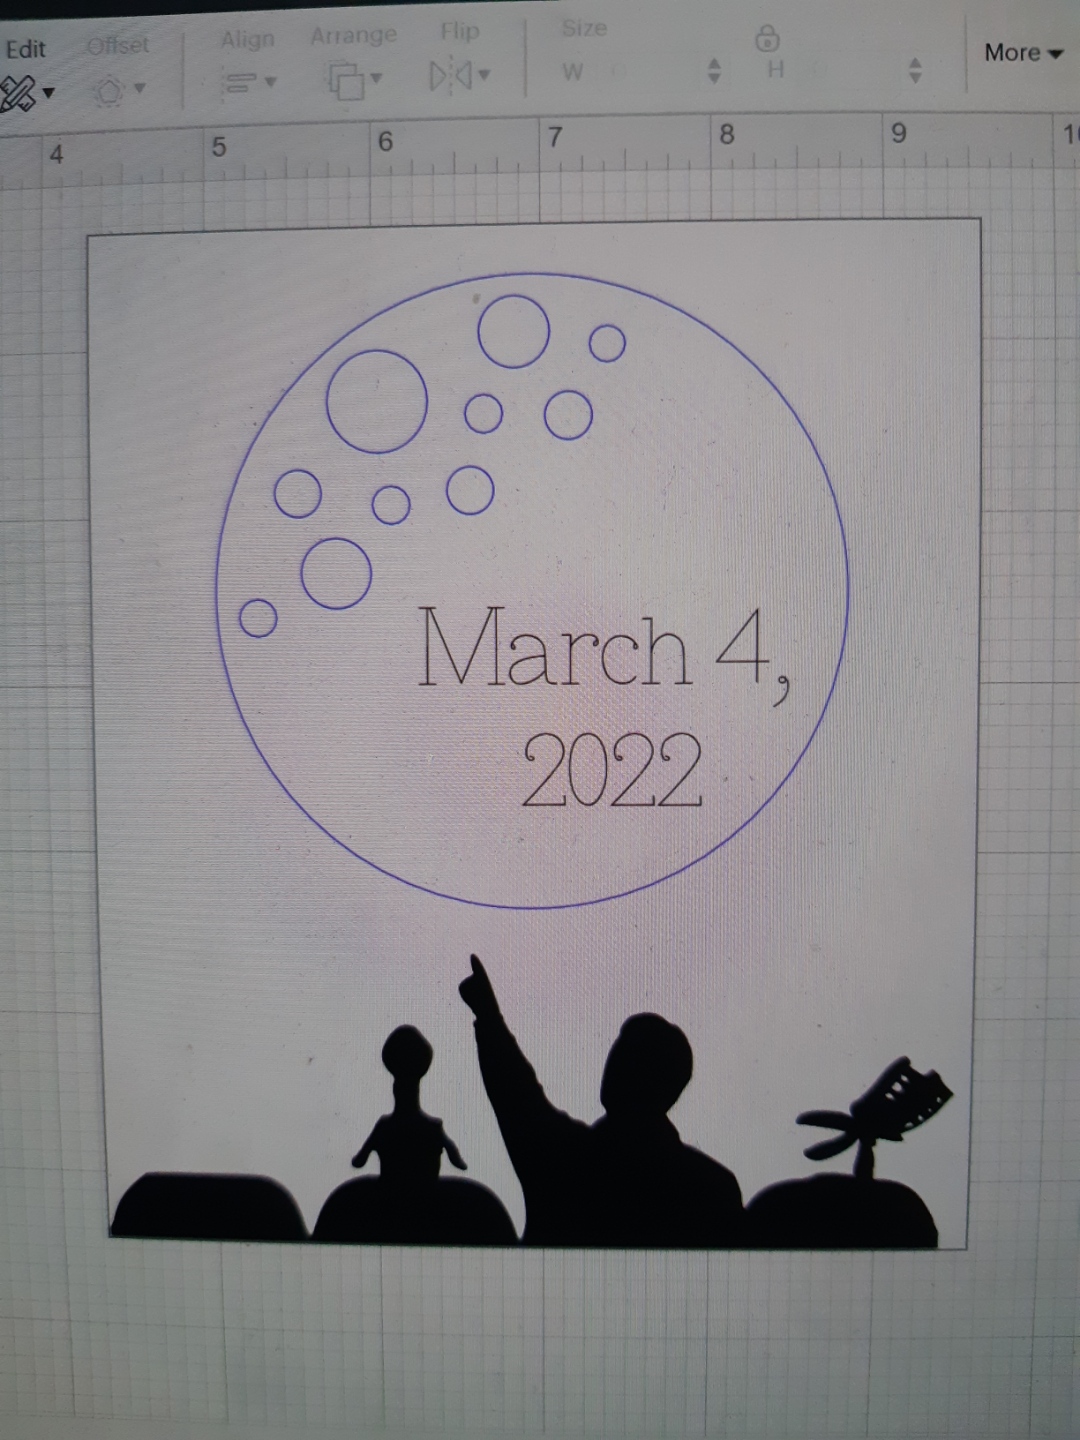
While we're talking Cricut projects, I'll also show you the card I printed for my Dad to tell him we helped kickstart a new season of Mystery Science Theatre 3000 on his behalf (it's a nerd thing).


Apparently I didn't take a picture of the finished product, just the plan. The finished product basically looked like this :D. 

Tune in next time for more "Things I made at Christmas, but am only posting about now" :).

Monday, April 18, 2022

Favourite Furry Friends

At Christmas time my friend, K, who moved away to England, was able to visit for the first time in two years. Last time we saw her it was Christmas of 2019 and she had a 4 month old baby. This time she was coming back into the country with a 2 year old.

My friend, B, and I knew we wanted to make her son something, but weren't quite sure what. We knew it couldn't be too big, as she had to be able to fly home with whatever it was. And we wanted it to be appealing to a 2 year old :).

We landed on finger puppets as something not too hard for us to make, small enough to pack into a suitcase, and even possible entertainment for the flight home.


We started by looking around online for ideas and then drawing out our samples. We definitely liked different elements from different things we saw online so there was a lot of "well we like the nose from this one, but the teeth on this one".

We had narrowed down our list of animals to Canadian animals so we could remind our friend's son of his heritage :D. 


We pulled out the felt we already owned, but also had to buy some. I have a lovely assortment of rainbow colours of felt. Do you know what doesn't involve a lot of rainbow colours...Canadian animals. In fact, we had to carefully pick and plan our browns so that we didn't end up with a bunch of finger puppets that basically looked identical.


We also hand stitched all of the pieces - with pieces that small it was just easier. Plus the embroidery floss for stitching was a really cute look. We seemed to have the uncanny ability to run out of thread about an inch before the end, no matter how long the thread we started with was.


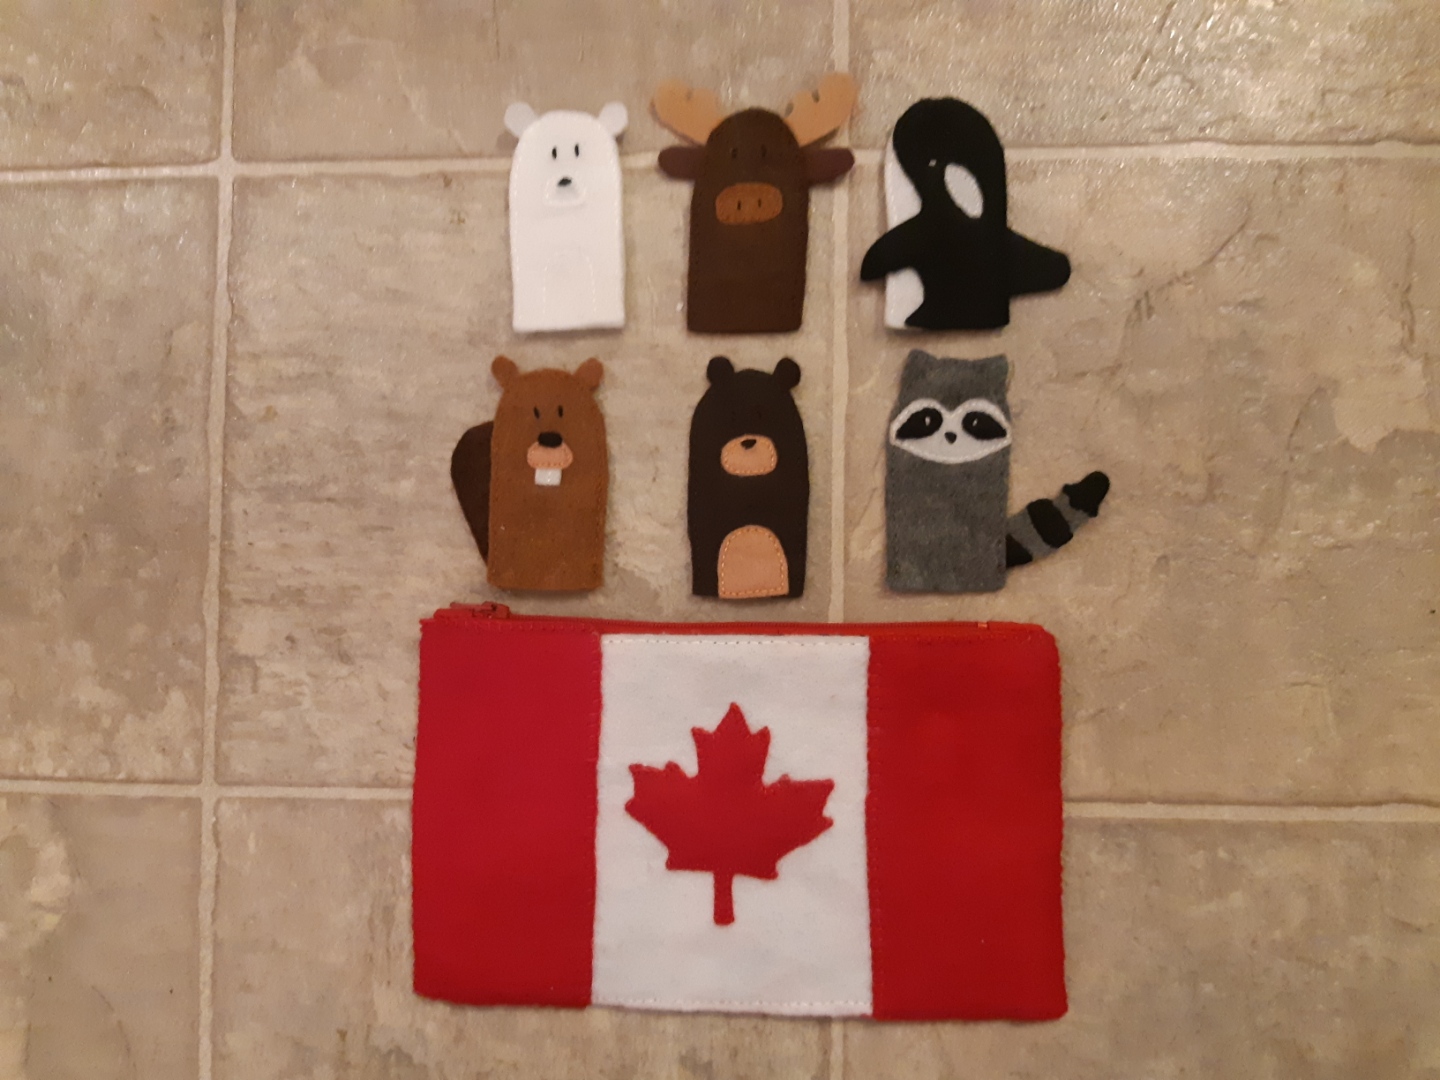
Top left to bottom right we made an orca, a moose, a bear (I don't know if we ever decided whether it was a grizzly or a black bear), a beaver, a polar bear, and a raccoon.


We also made a bag for them that was a Canadian flag. We made a cotton pouch for the interior, so the puppets won't stick to it, and then surrounded it by felt.


We didn't do a great job of documenting, so I don't have pictures of the back of the beaver or the raccoon. The tails on the beaver and the racoon definitely took the longest. We stitched a crosshatch onto the beavers tail, but also planned it out so that enough of the design was sticking out the side. The pieces of the raccoon tail were small enough that having things to stitch through, and not shifting their shape, was difficult.


The orca was definitely my friend B's favourite one. She worked very hard on the design and construction of it. We did it in profile and so made it double-sided. We also stitched it so the flipper isn't stuck down - definitely our most intricate one.

Overall we were very happy with how they came together, and they seemed well received by the recipient. We might have to start thinking about whether there are other Canadian animals that could be added to the collection at a later date.

Wednesday, March 16, 2022

Gifts for a Friend: UK Edition

I have a friend who likes all things London/UK. So when I find fabric that fits the bill, I grab it and then (try to) come up with something to make her.

Thankfully she's the kind of friend who asks for things she wants, so a while ago when she asked me to make her a grocery bag holder, I knew exactly what fabric to dig out.


I bought this fabric when I was visiting another friend in the UK, and I hadn't yet come up with what I wanted to make for her out of it.


A grocery bag holder is a very practical thing, and also super easy to make.

Her next request was for a double oven mitt. I had just enough fabric left to fulfill this request. I used a tutorial provided by the Crafty Gemini:


First I auditioned fabrics for the ends and the binding.


I ended up deciding to keep it uniform - it showed off the fabric better.


I also ended up using some biased binding that I had bought a few years ago at the thrift store. I also had basically exactly the right amount of thermal insulation for this project.


Finally, I found this panel in the clearance section at the fabric store this past year, and knew I needed to get it for her. 

I spent some time thinking about what I might do with it, but I wasn't coming up with any great ideas, plus the sashing didn't seem to lend itself to being cut apart and sewn back together.


Instead, I kept it together as a single panel and just quilted it.


I machine quilted it with my walking foot, following the diagonal lines in the Union Jacks, but switching direction in the middle. This made v-shapes along the edges and a diamond in the middle


I varied the width between the lines, which were fairly close together and it ended up being a lot of quilting (went through a couple small spools - thankfully the store had 1 spool of the colour I needed when I got there, though it took a while to find).


I thought she could use it as a table runner, a couch runner, or a lap blanket, depending on how she was feeling.

And so ends the recap of some of the UK-themed gifts I've made for my friend over the last few years (there have been more gifts, but I didn't have easily accessed photos of them).

Sunday, February 27, 2022

Paper Crafting with Cricut

About a year ago, I decided to use my Christmas money and treat myself to a Cricut machine. I had been considering one for a number of years, but always considered it a pipe-dream. However, I found myself with a little extra cash and decided it was time :).

First project they have you make.

I decided to go with an Explore Air 2. The maker was significantly more and I decided the features it included weren't ones I would really take advantage of.

Pre-designed card with beautiful water colour
background painted by my friend

So far, I have focused mostly on paper crafting - mostly cards. I already had a lot of paper from my years of scrapbooking (that I will probably never get back to) and card-making.

Another pre-designed card

I had Cricut Access for the first month, so I cut out a number of cards and things while I could, and set them aside for gluing later. If I'm being honest, there's still some I cut a year ago that I still haven't glued, but I've also put a number of them together and given them out :).

This was made using the foil tool
I got for my birthday.

Hard to tell, but I used my
glitter gel pens here.

After that first month, I've been on my own in terms of designing, which has worked out fairly well, but can be difficult. Sometimes I'm able to mostly use something from the free library, such as some of the ones below (and the thank yous above).

This is a card I've been able
to make too many times.

I find it easy enough to write
on the outside of the card

But I often stick to gluing
an extra paper on the inside
Pre-designed outside

With custom-designed inside
based on the invitations

One of my favourites.
Foil background design.
A little custom work for the
two colour butterfly.

But sometimes I'm completely on my own. I have done some digital visual design work as part of my job, but this has definitely stretched me out of my comfort zone. 

One of my first solo designs.
Had better visions for it, but you have
to start somewhere
in the learning process :)

Baby card for an Eric Carle and bird
themed baby gift


I also took some time to make myself a sign for my laundry room as it saw a lot more outside use over covid :D.


I also have a number of cards I've made but have forgotten to photograph. I still have lots to learn, but I'm also very happy with what I've been able to do with it so far.

Monday, February 21, 2022

Reemergence (Napkins)

Catching up some more on things I've missed posting about, this is a birthday gift I made for my friend this past summer.

I had bought some linen napkins quite a while ago with the intention of doing something with them for my friend, but I hadn't quite figured out what. This year I decided that I would make her some Harry Potter themed napkins. The next trick was to figure out what to do for a design.

I decided that since I had four napkins, I would do the four houses. It was tricky to find a design that was simple enough to embroider in the time frame I had (I mean I would never leave a project until the last minute 😄).


I found a design I liked, that I traced from my computer. I looked tonight to try to find them again so I could credit where they came from, but I wasn't able to. I found them in use other places, but not the original that I used. I also changed the design a bit. I didn't love the design for of the lion, so I ended up changing that out for a different one.

Next up was to pick out the house colours. I have some embroidery floss, but not a whole lot. I ended up needing to borrow embroidery floss from my friend in order to make her gift 😂.


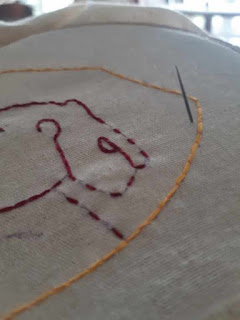
I did a simple running stitch around the design and then back the other way. I believe I used two strands of thread for the stitching. Here you can see some of my work and some of the designs.


Originally I was planning on doing the four napkins as one for each house, but then as I got thinking I decided that if I did it that way then people using the napkins would have to pick a house and might not get the one they wanted. Instead, I chose to do the houses one in each corner of each napkin, so each person could decide which one they wanted independent of everyone else.


I also wasn't sure which way I wanted to stitch the two colours into each house design, so I decided to do two of the napkins one way, and then invert the colours for the other two napkins. You might be able to see that if you zoom in really closely on the picture with all four napkins in it.


One of the tricky things about working on the napkins was that you can see the back of the project, so I had to be careful as I worked that I didn't make things too messy.

So now you know a little more of what I was working on last summer :).