Next up on my backlog is posting about projects I made for Christmas.
Don't let this post deceive you, they were done before Christmas, I just didn't post about them.
Some time last year, I hemmed a curtain for my friend to use across her under-the-stairs storage. When she wasn't looking, I snuck the cut-off home with me to use at a later date. I decided Christmas was that later date.
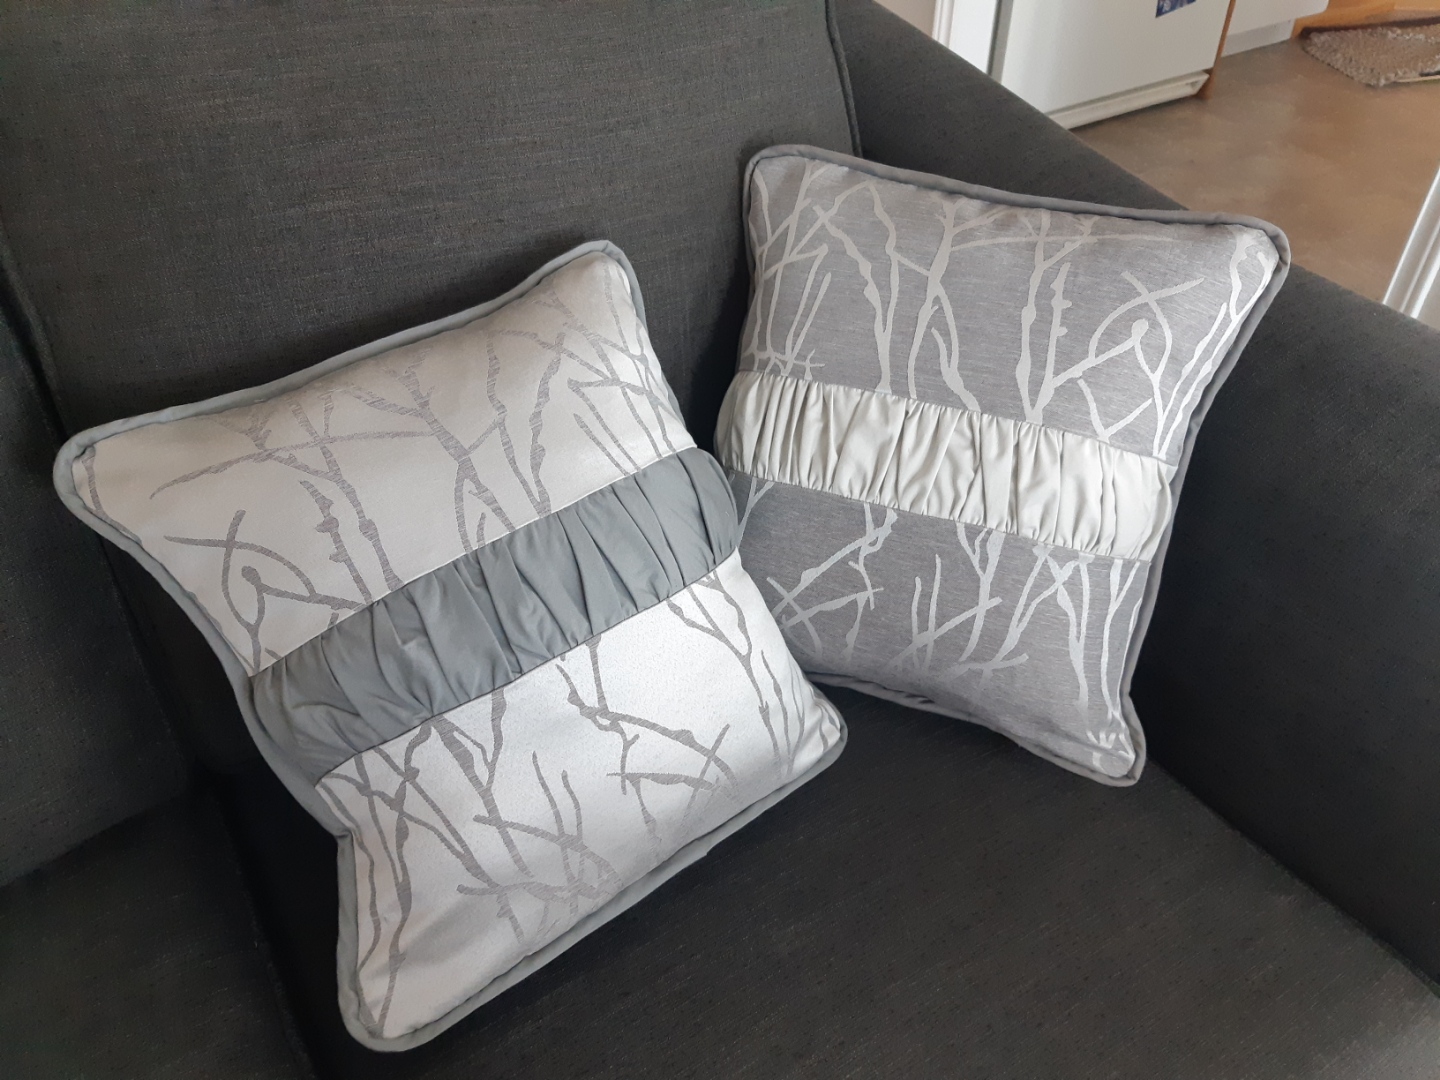
She just finished a basement upgrade (well her dad just finished it) and so I decided she could use some cushions for her new living area to match her curtain. The fabric sides were inverse of each other (dark with light branches and light with dark branches), so I decided to take advantage of that and utilize both sides.
I also decided to add a ruched bit in the middle. (I originally saw this idea in a magazine I got for Christmas one year, though when I wanted to confirm the length of fabric I might want to use, I could not for the life of me find the magazine).
One thing I will say is that this fabric really had a life of its own - and staying square wasn't high on it's priority list. So to make my life a little easier, I used freezer paper on the back of the fabric until I was done attaching it to everything, and that really helped.
Another thing I added was pipping. The Seasoned Homemaker has my go-to pipping tutorial. I have used it a countless number of times.
I didn't have enough fabric for all of that out of what was left from the curtain, so I used some grey cotton from my stash for the ruching and pipping. I went with a darker pipping and lighter ruching on with the dark side of the fabric, and a lighter pipping and darker ruching for the lighter side of the fabric.
With the ruching, the pipping, and the curtain fabric, I think they came out looking very professional, and not at all like a homemade pillow.
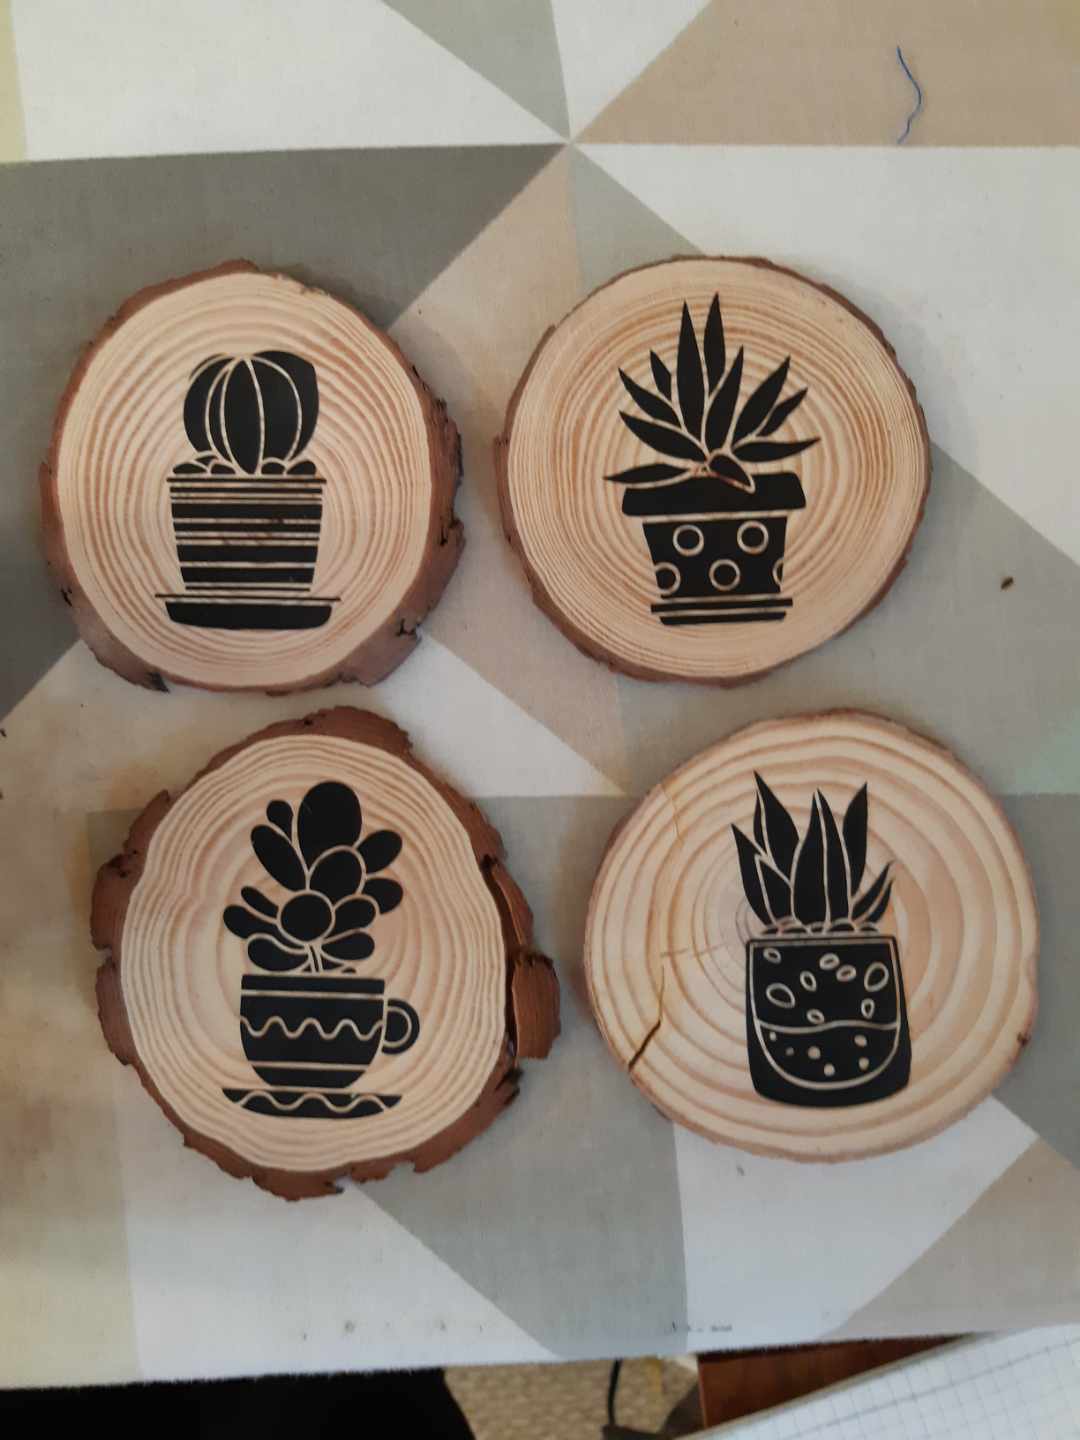
For the same friend, I also utilized some new skills on my Cricut. I had bought some wooden coasters and wanted to jazz them up. She always has so many lovely plants in her home, so I decided I would go with that for a theme.
 |
| Test run in vinyl on paper |
I found some designs I liked, cut them out of iron-on vinyl, and attached them to the wooden coasters. That's the white-washed version of how things went (and how I planned it, because you know, I watched a 5 min youtube video). In reality, I started too late, didn't have everything planned, and was trying something completely new. So I was in my craft room at 10 PM the day before Christmas Eve (when I was leaving at lunch the next day and hadn't packed yet), freaking out because nothing was working.
A couple things I learned: First, not all wooden things are created equal. Part of the problem was that my surface wasn't smooth enough. Thankfully I had some sandpaper that I could take to it, and after sanding it down for a while, it went much better. Second, small pieces are trickier. Originally I was going to just do the outline, but there wasn't really enough there to stick down. Even as is, with the transfer tape on top of it some of those pieces just didn't want to stick and I had to go with the iron straight on it (but not for too long or that was also a problem).
Did I have to cut the first one out multiple times because I ruined it trying to attach it? Yes. Did I have to glue felt to the bottom because I ruined one side of one of them and had to turn it over and use the other side? Yes. But, overall am I happy with them? Yes.
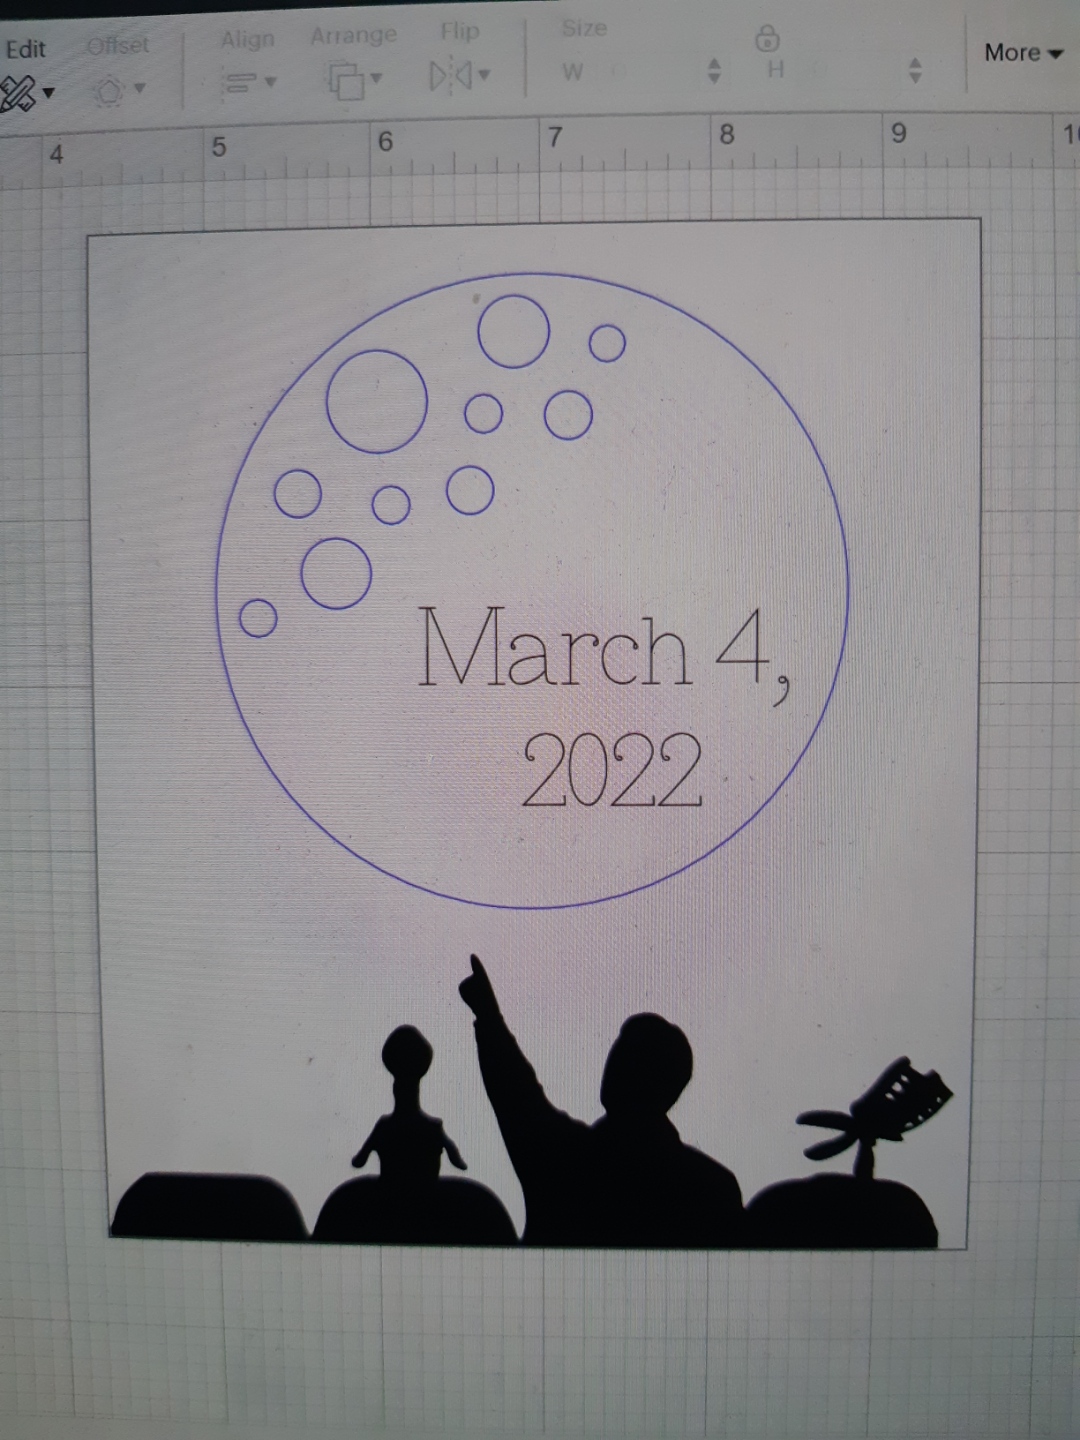
While we're talking Cricut projects, I'll also show you the card I printed for my Dad to tell him we helped kickstart a new season of Mystery Science Theatre 3000 on his behalf (it's a nerd thing).
Apparently I didn't take a picture of the finished product, just the plan. The finished product basically looked like this :D.
Tune in next time for more "Things I made at Christmas, but am only posting about now" :).


No comments:
Post a Comment