Saturday, February 19, 2022

Covid Quilt Challenge #18: Improv Piecing—Lines

Well, it's been a long time, and we actually created these a long time ago, but I'm just now getting around to posting—better late than never, right?

We completed our last covid quilt challenge pieces in July of 2021. The technique we drew was "improv piecing", but since we had already done improv piecing with letters, we decided that we needed a bit more focus. We didn't want anything too limiting, so we ended up picking "lines". We both ended up doing a couple of projects.

My first one was inspired by our trip to the strawberry patch that weekend. As we were leaving, we could see the heavens opening up and rain pouring down on countryside ahead of us. There was a big patch of rain, and then a gap and a then another small patch that looked like it was directly raining on two people :D. As we drove back to town there was a clear line of where it had rained and where it hadn't. It was quite fascinating.

As soon as I heard lines, I thought about the rows of strawberries at the strawberry patch, and also about the lines of rain coming down. I dug out my green scraps, and worked some red bits in to them. However, because improv piecing is less planned, and I was working with really small pieces, I ended up either cutting out or losing most of my red bits to seams.


I dug out my blue and grey scraps for the sky, along with the rain clouds and the rain. I wanted to give the illusion of movement, so I alternated the light and dark greys for the rain.


Figuring out how to quilt it was another story. I wanted to do more than just stitch in the ditch with the lines, but also add to the piece rather than take away from it. I ended up doing matchstick quilting in the light parts of the rain—again to help create movement.


I quilted the cloud with loop-de-loops, and the strawberry rows with leaf motifs. I also added in some more strawberries with thread, since most of mine had disappeared. Plus I had the perfect fabric for the back.

I didn't quite have enough of it, so I had to piece it together with some other fabric as well, but I was happy to dig it out of my stash and give it a good home.

For my second piece, I dug out my solids and went for something colourful. I also decided to add some curves into my line—give it some interest.


However, yet again, my eyes were bigger than my stomach, or whatever the sewing equivalent of that is. Because of the size restrictions on the covid quilt challenge quilts, and my non-wasteful nature, I decided to turn it into two projects. I cut it into two distinct dimensions and decide to treat them slightly differently, but as part of a series.


For the first one, I decided to keep it simple. I got out all my fun, colourful threads (and a few of my friends) to go with the fun, colourful fabrics I had. I did simple curved lines to go with the curves of the design. I really like how it turned out. I think it it complements the piece really nicely and adds some more fun. I had decided not to do the left side of the piece because there really wasn't much fabric and I didn't think it needed it. If I had it to do it over, I would have probably put a bit more fabric on the other side so I could do some lines on the other side as well. But the point of these challenges was to get us outside of our comfort-zones and our over thinking, so it is what it is.


For the second piece, I decided to get fancier with the quilting. I split the piece into sections and then decided how I would quilt each section. The quilting was very tiny and required a lot of precision. I did the checkerboard pattern in the middle with small lines back and forth. It was tricky to not go too far. It was not a design I had tried before, but I enjoyed doing it and the look it gave. On the outside of that, I did pebbling. That was something I had experience with, and I enjoyed doing something familiar. In the last slots I did stippling. Stippling is a design that scares me—there's so little planning and I feel like I would back myself into a corner a million times. I decided I could conquer it in that small of a space where I also had an edge to go off of and come back in if I needed to. And I did survive.

One of the downsides of the covid quilt challenges, is that I got used to working on such small pieces. Nothing I tried took too much fabric. It was easy to start over or back up if needed. I didn't have to drag a whole quilt through my machine. And I only had to fill a small area with quilting. As much as I loved these designs and feel like they really added to this piece, they took a million years to do just on this tiny piece. I can't imagine trying to do this on any bigger of a piece, and I'm not sure I would be good at scaling them up. For now, I will keep them in my tool belt for smaller projects.


I chose to finish this one off with a blue binding.


The view from the back.


My friend chose to use this as a real scrap-buster opportunity. 


She dug out tiny leftovers from previous quilts and started piecing them together.


Because of the size and shape of her pieces, she ended up with some interesting seams. But once she put it all together and quilted on top of it, it all just blended right in.


She even used small scraps to piece together the back.


For her next piece, she dug out leftovers from another quilt she had done a number of years ago.


Again, interesting leftovers led to interesting shapes.


This time, she added in some black lines, to meet the line part of the design challenge, and also add some interest.


She quilted it with her walking foot.


And also pieced the back with leftovers.


Now that we're hanging out in person, it's less conducive to doing these challenges. We've also had our own larger projects to work on. However, I think we both enjoyed the process, adding to our list of techniques that we know how to do, and the stretching of our comfort levels with thing, so who knows, maybe we'll revisit it one day—there's still lots of ideas on the techniques list :).

Sunday, June 6, 2021

Walking Foot Baby Quilt

Last month I finished up a baby quilt that I started a couple years ago - it's always nice to get a finish, even if it takes a while.

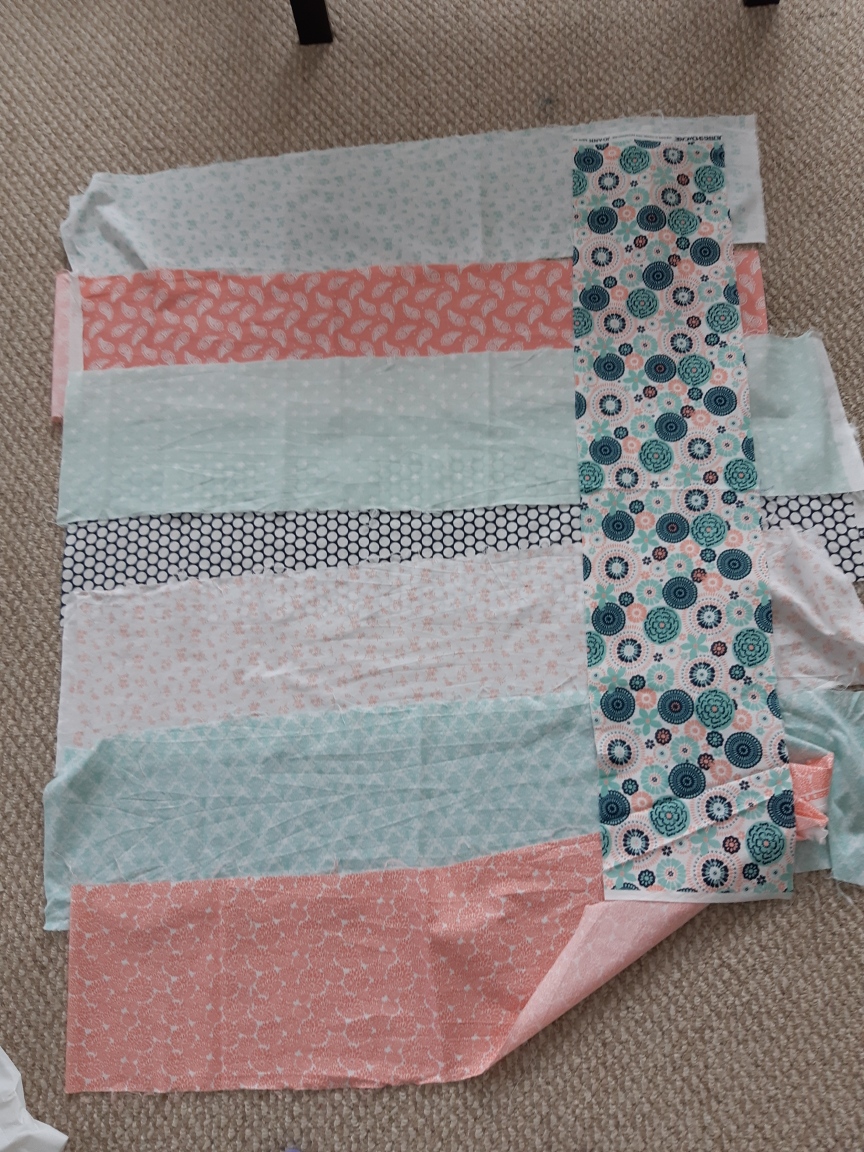
One of my local quilt stores will sell packages width of fabric strips. I have purchased a few of them and made baby quilts out of them that just sew the strips together and run one perpendicular to all the others. Since then they have become more expensive and less coordinated, so I don't usually bother any more, but I did make my own version of this one of the last times I was travelling through the states when I stopped at JoAnn's.

Historically, I have used this as a way to practice my machine quilting, so I knew I wanted to dig the fabrics out a few years ago when my friend and I did a walking foot quilting class. At the time, I didn't have a baby in mind for the project, just knew it was a good way to practice. So I've been puttering away at it the last few years. Then I heard friends were pregnant with a girl, so I dusted it of and completed it.

Except for the strip that runs the other way, all the strips were quilted using the walking foot. Some with techniques and designs we learned in our class, and some that I googled or came up with on my own.

Unfortunately, I didn't have a lot of time for photographing, so I didn't get shots of all the different quilting, but here's a look at the backing.

I did have to go shopping in my friend's stash for the binding since we were in a stay at home order and I couldn't get to the store to get binding fabric, so I'm appreciative of the fact that she shared.

This is my typical second child quilt. I generally do a hand quilted quilt for a first child (often my own design), and then a machine-quilted strip quilt for the second child. I don't have so many close friends with children, so this is only my 3rd one of these. I do really like making them though. They come together quickly and are a great opportunity to practice my machine quilting skills (which definitely need practicing).

Sunday, May 30, 2021

Covid Quilt Challenge #17: Whole Cloth Quilt

Last weekend we did another quilt challenge. We started Thursday night again, since we both had the day off on Friday. And Monday was also a holiday. And it turns out I needed all that time just to make one project. (Well I didn't work the whole time, I also needed some times of rest.)

The technique we drew this time around was "whole cloth quilt" - which is a difficult thing to think about in such a small working space.

My friend chose to start with a machine quilted piece. She did a main design of a "B" for her initial and a lovely flower in threads that stood out a little more. She also double-stitched the B.

Then she quilted swirls around it, and echoed inside the B in a thread that blends in.

And added a binding.

I know this looks like a different colour,
but I promise it's the same quilt.
She just lives in a basement
with inconsistent lighting :).

She was done that in the first day (that's one of the benefits of such a small project :)).

For her second piece, she did a more traditional one: hand-quilted, white top, symmetric design, medallion in the middle.

She added extra fabric to the outside so that she could quilt it in her hoop.

She used cream thread for the quilting, and white for the binding.

Lovely yellow back

For mine, I also chose to do hand quilting. I drew out a fairly complicated design, and didn't end up doing all of it. I tried to balance the amount of busy stitching, and letting some poofiness shine through. I even used double batting for extra poofiness :). 

You'll notice later that the inner
cross hatching got cut from the team.

I quilted some parts with burgundy thread and some with white.

I used a solid white for the top and burgundy for the back, so which stitching stuck out more switched on the two sides.

I finished it off with a white binding.

And there you have it: our whole cloth quilts.

Thursday, May 20, 2021

On Vacation

I am taking a week of vacation time at work. It feels a little weird since I can't go anywhere or do anything away from my house. And things haven't quite gone as planned: my ereader won't recognize the library book I've been waiting a few months for, I didn't have all the supplies I thought I had for the sewing project I got out to make (and I can't go to the store), the time has gone way too fast - haven't felt like I've had enough time vegging in front of the tv. But I still have managed to have a nice time.

The weather has been lovely and people's gardens are in full force, which I have been enjoying on my walks.


Spent some time doing some cooking (and deliveries for sharing).

Homemade pierogies

Lemon loaf
  

Lots of time on the deck reading and watching baseball and working on my new puzzle.

And I will be finishing it off with a quilt challenge weekend.

Tuesday, May 11, 2021

Sewing Spectacular Part 2: Covid Quilt Challenge #16

Well, almost two weeks later, I'm finally getting around to posting about the other quilt challenge we did on our sewing spectacular weekend. Part of that was because I just ended up finishing my final one the other night (it's been a bit of a hectic few weeks).

We started the with the rainbow challenge (Part 1 and Part 2), which we did Thursday night until Saturday at dinner. Then after dinner, we drew for our next challenge. The technique we drew was big stitch quilting and/or sashiko. We couldn't decide whether or not we wanted to add a theme, so we left it open for the night. We each went our own way and started thinking/planning. On Sunday morning we still hadn't decided if we wanted a theme or not - part of the problem being that we didn't know how to pick one or what we might pick- when I said "the sky's the limit" meaning that we could pick anything, but then we decided that that wasn't a half-bad theme, so we decided we would go for it with at least one of our pieces (we were both already considering multiple pieces - this is what happens when you have too much time on your hands).

I knew for my first piece I wanted to do some sort of sashiko, so I started googling because I didn't even know what exactly defined it. I liked the look of some of the sampler pieces I saw, so I thought that would be nice, but it was figuring out how to fit that into a tiny piece. I decided to go with a 6" square that was divided into 9 2" squares. I had to carefully choose designs that struck the balance between a small enough pattern to fit into a 2" square and still be recognizable, and not being so intricate that it would be lost or impossible with bigger stitches.

I started by drawing out some of the designs in 2" squares on some graph paper. Some of them my brain had an easier time drawing out than others. Once my sketches were done, I redrew the designs on my fabric. This whole process took a lot longer than I wanted. My brain had more trouble without the gridlines to help me (and even with them it struggled sometimes).

Then it was time to put the layers together and start stitching. I used the great little frames my grandfather made for me a while ago. They were a little big for the job still, but I made it work :).

I didn't want to just do a sashiko sampler — I wanted to do something a little more creative than that, so I turned to our theme of "the sky's the limit" for inspiration. I decided that the top row of squares would open up (removing the limit of the box) with the quilting designs floating up into the sky. (In fact the stitching goes from dense to less dense from bottom to top, I didn't do that on purpose, but it's a happy accident.)

I also did big-stitch binding on this one, so I stitched the binding onto the back, and then pulled it around to the front and stitched it down.

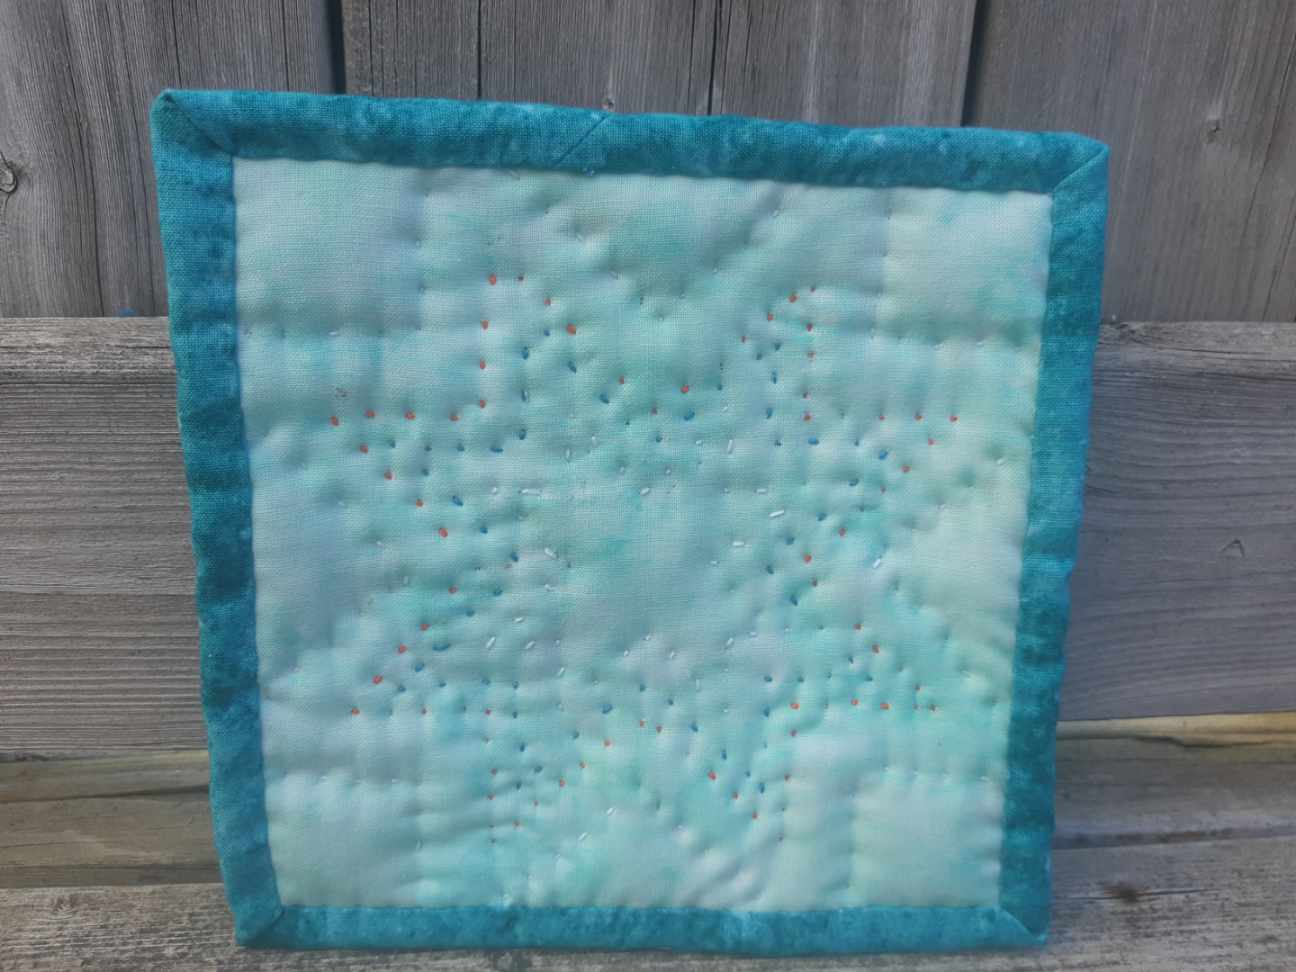
I wasn't sure what my quilting stitches would look like on the back, especially since I was working hard to make them look good on the front, so I chose to go with a bit of a busier back. 

I know my stitches aren't what everyone would could big stitches, but they are big for me, and they are big in the context of a 6" square. So I'm happy with them.

For my second one, I decide to go a more traditional route. Since big stitch quilting is usually done on a full quilt, I chose to do a quilt block as my second option. 

I wanted to pick a two-tone/mirror image kind of block where I could do light with dark stitching and dark with light stitching where the stitching would be the same. I've also been drawn recently to inverted star type blocks - especially scrappy ones. I liked the idea of a star, as stars are part of the sky, so I felt like it fit into the them as well - reach for the stars :). The trick was then shrinking the block down small enough to fit the perimeter requirements. This meant I was working with some small pieces: the inner squares and half-square triangles are 0.75" finished. I'm very happy with how the seams lined up given how small everything was. I also decided to work in orange, as the earlier rainbow challenge showed me how much orange I have :).

I did a white stitch (2 strands) in the inner orange start and the outer orange sections. I tried hard to make bigger stitches on this one :). The inner star was very stiff and too hard to do actual stitching, so I ended up just going up and down one stitch at a time. This meant I was able to carefully line up the stitches. On the other parts, I chose to just let the stitches fall where they may. For the orange stitching I used 6 strands and 4 strands for the teal stitching.

The back has a fun amount of tiny stitches :).

Added a teal binding and ta da!

This time my friend was the one that chose to do three challenges. She started with the trickiest one, and chose to do a double-sided piece. She somehow magically pieced it on Sunday morning before she showed up at my house at 11 AM.

She did a lovely ombre effect, where she inverted the colours between the two sides. She also used an ombre effect with the threads. She had to stitch carefully as she wanted it to look good on both sides.


Once she finished the stitching...

...she added a white binding and did some more ombre stitching. This time a little more complicated.

She didn't design this one to be part of the "sky's the limit" theme, but I think with those sunset colours, it totally counts. (Left image is the "front")

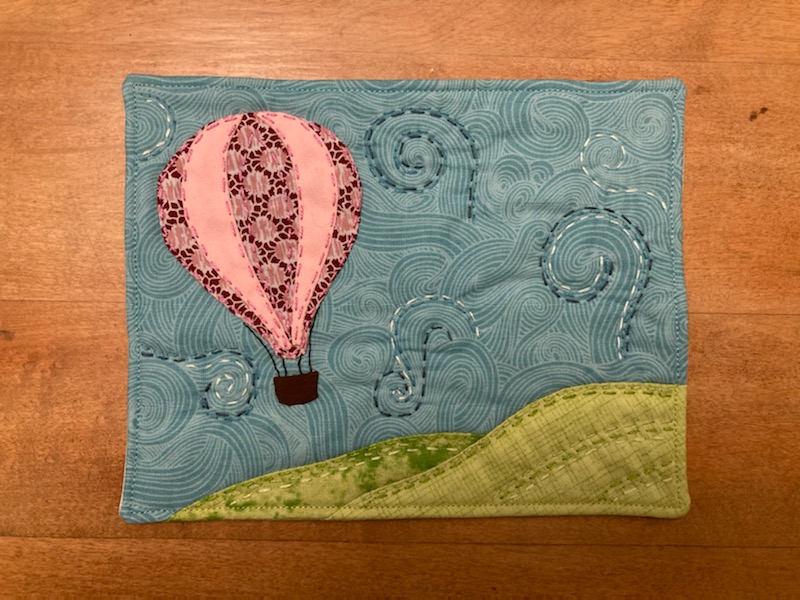
For her second piece, she embraced the theme and did a lovely scene. She hand appliquéd the pieces on to the background (with a little help from a few pins :P). 

Her background fabric was a fabulous choice.

Once she had it together, we had a conversation about finishing techniques. I think we're both a little tired of binding and sometimes want a different look. We decided she could just stitch it right sides together and then turn it inside out. She top stitched it on her machine, and then was able to add her stitching. It came together really nicely, and I need to remember this finishing technique next time I'm tired of binding (as long as the stitching lends itself to this).

These challenges definitely made her stretch out of her comfort zone in terms of colour contrast (both the rainbow one and the big stitch one). She always picks things that match very nicely, but sometimes that doesn't lend itself to things being differentiated as much as you want. This time she even thought she did a better job of picking colours that differed, but she still had to swap out on of her colours on the double-sided piece. Just goes to show that surrounding colour makes a huge difference as well. And that's why we do these challenges - to learn and grow :).

Her final piece took her back to our first challenge — curves. It's been over a year since we started doing this, and she had to remind herself of the technique :). I'm not sure if I can make this one fit into the "sky's the limit" theme (maybe if she'd let me turn it sideways).

Once it was pieced, she started stitching.

Sometimes she followed the seams, sometimes she didn't.

Stitches on the back.

Finished piece.

Whew. I'm finally done posting about our Sewing Spectacular. Guess we can have another challenge now :D.